Blog
First Try at Building High-End Furniture
I vow to never stain again - let's build something with walnut

I hereby vow to never stain again
June 29th
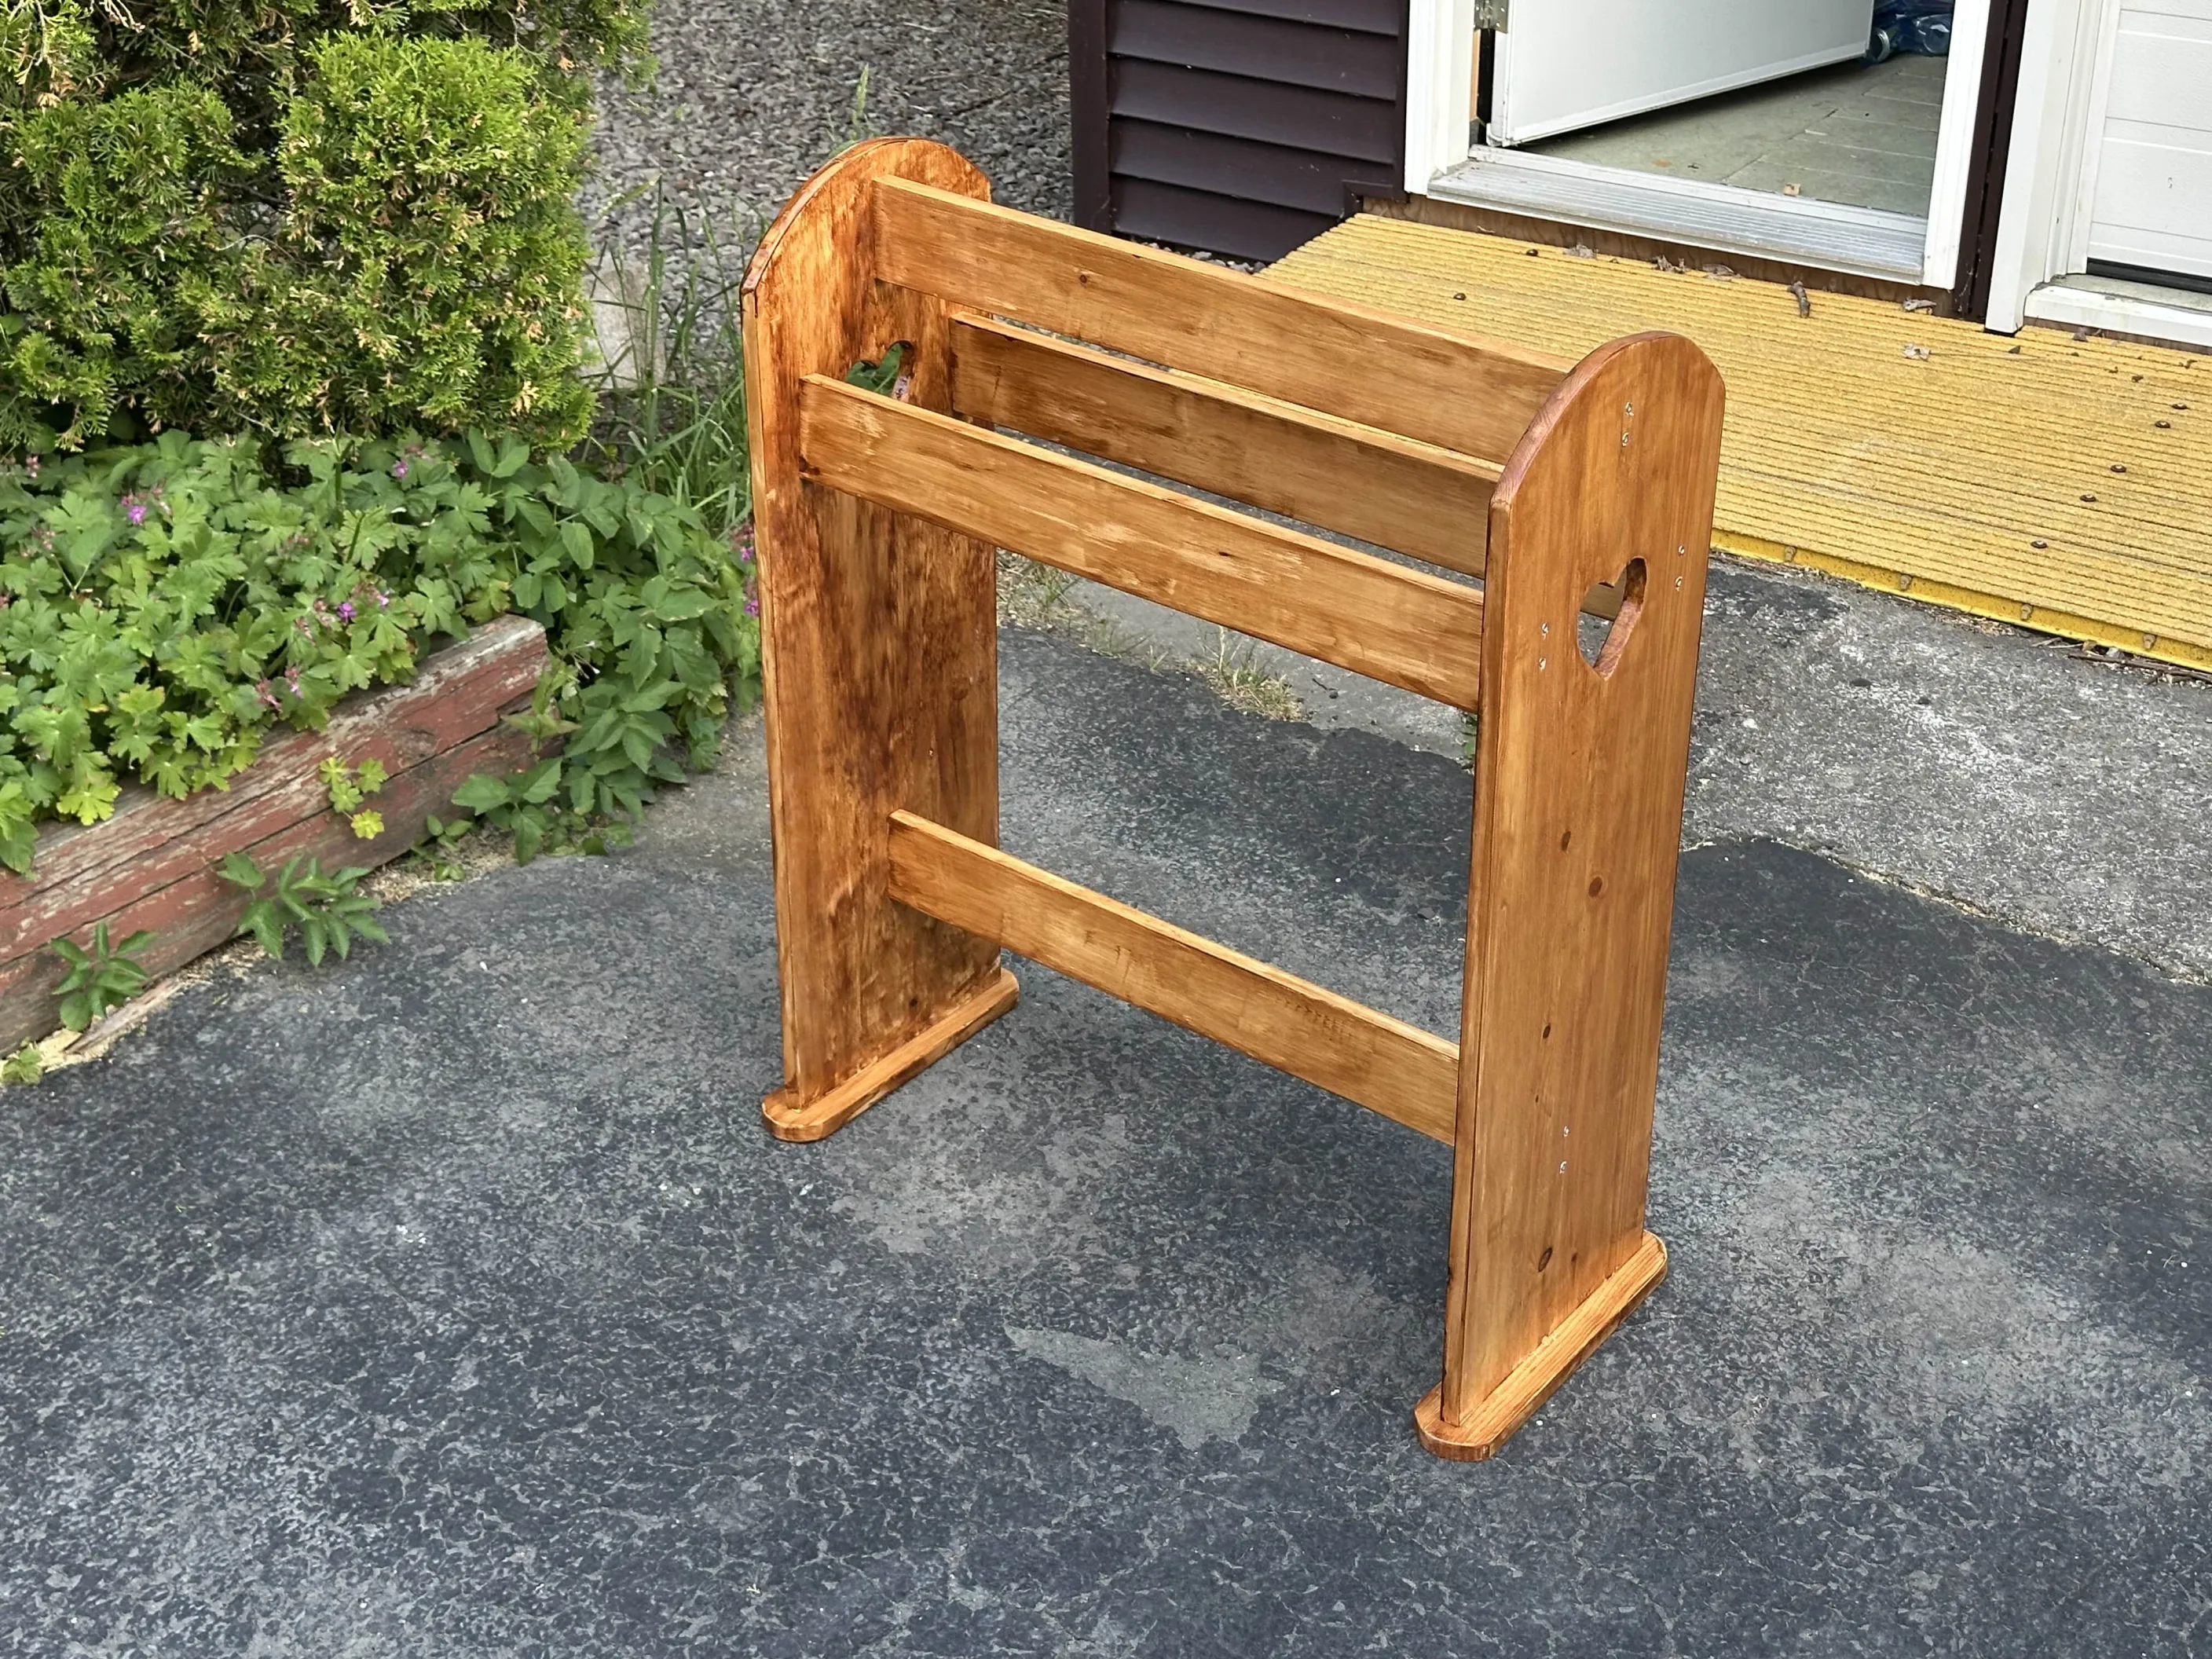
I made this blanket holder. It’s really cute, I spent a lot of time on it. Then, I stained it and all my hard work looked like crap. I didn’t have a mechanical sander so this is what I got and there was no easy way to go back.
Let’s use actual hardwood instead
My first attempt at building a high-end piece of furniture.
October 2nd
The only lumber yard in YYT
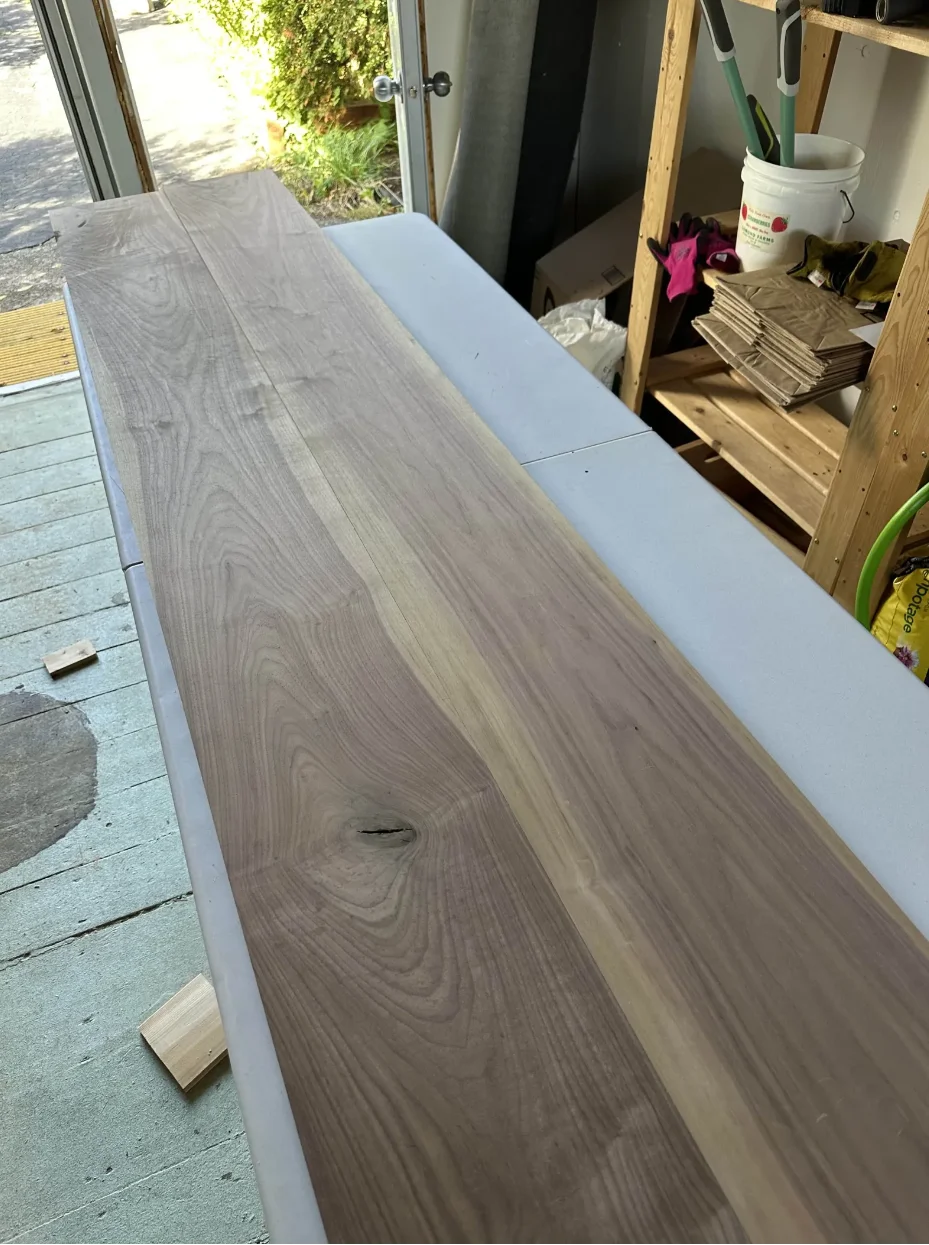
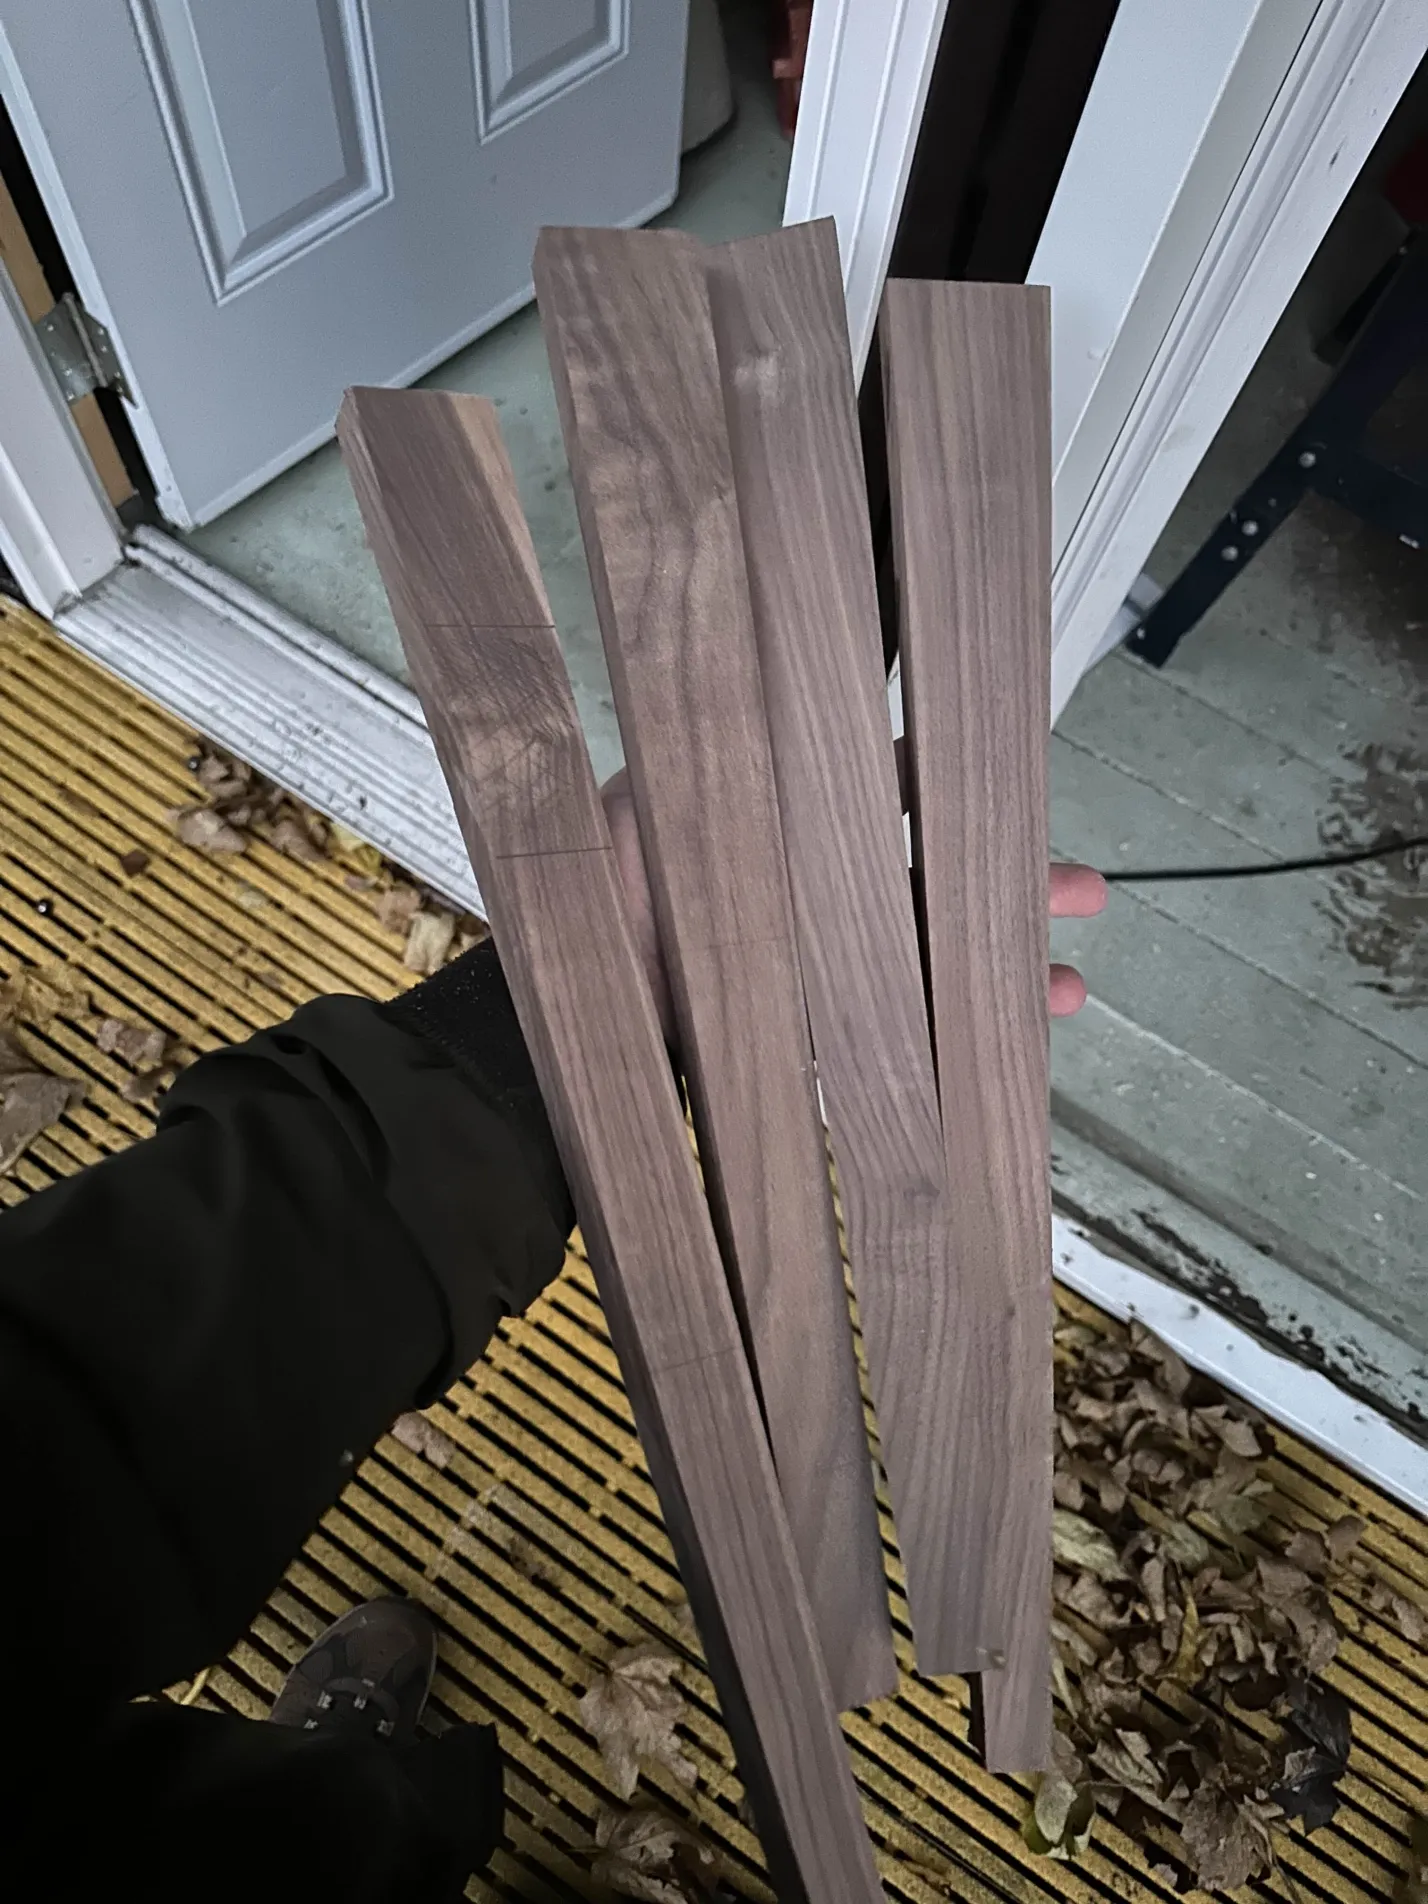
I began with some walnut lumber I purchased from Provincial Wood Products in town. I don’t have a planer or jointer but chose rough boards and they charged $60 to mill it for me. It was surprisingly easy to fit this in my little Corolla
I used CutList Optimizer to plan the cuts:
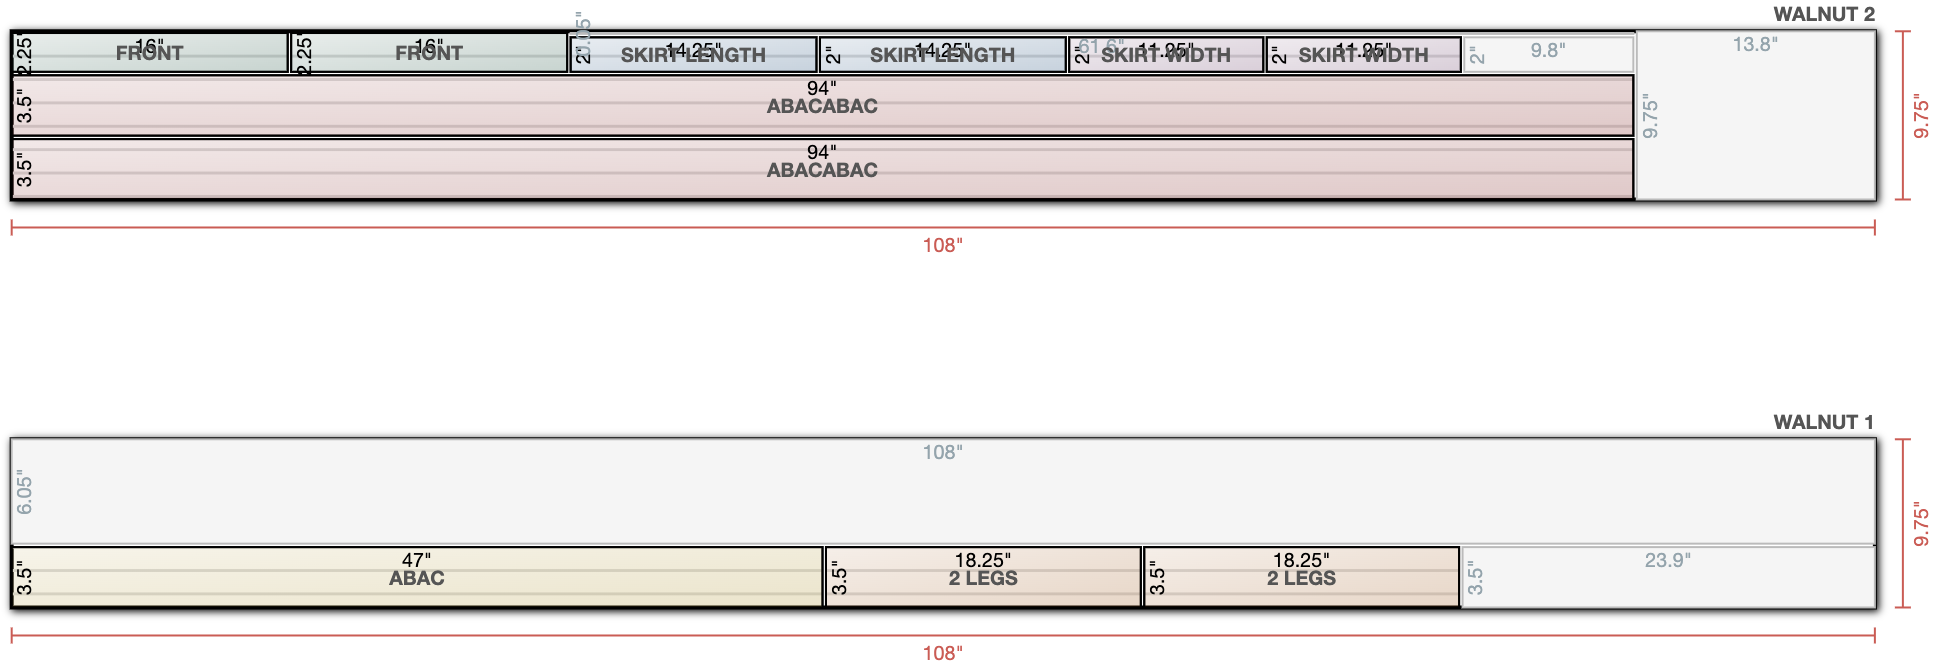
Learning moment, I wish I had:
- Matched the grain more closely around the board
- Been more careful copying the pattern and had a better way of doing that
- Avoided knots somehow, but the software doesn’t do that…
First cuts!
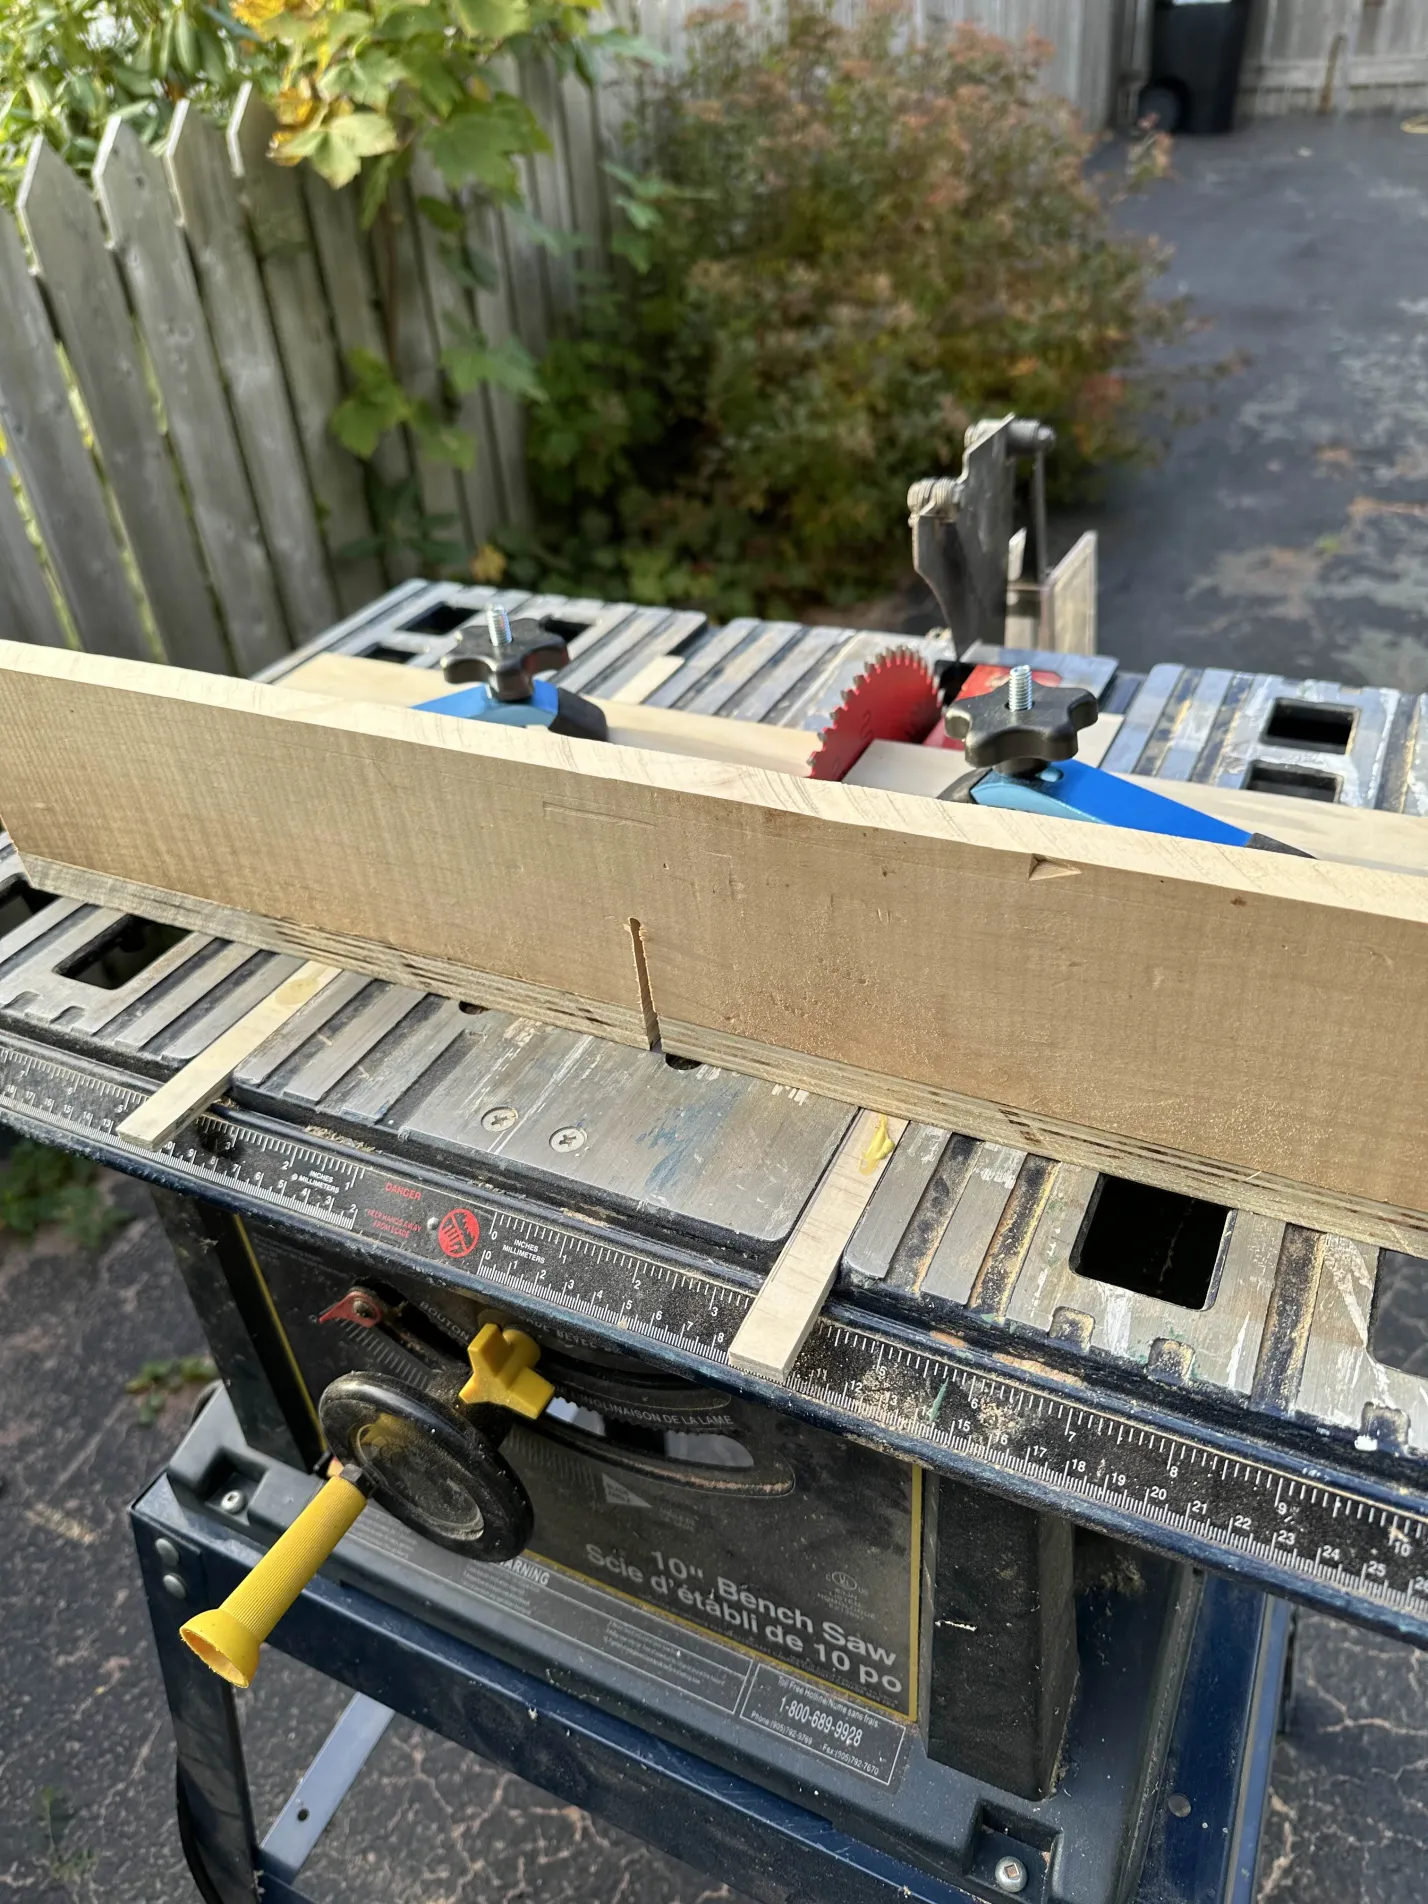
This was super nerve-wracking. Every cut I was holding my breath because this wood is pricey. But after the first few rips were done, I built a cross-cutting jig and it got a lot more accurate from then on.
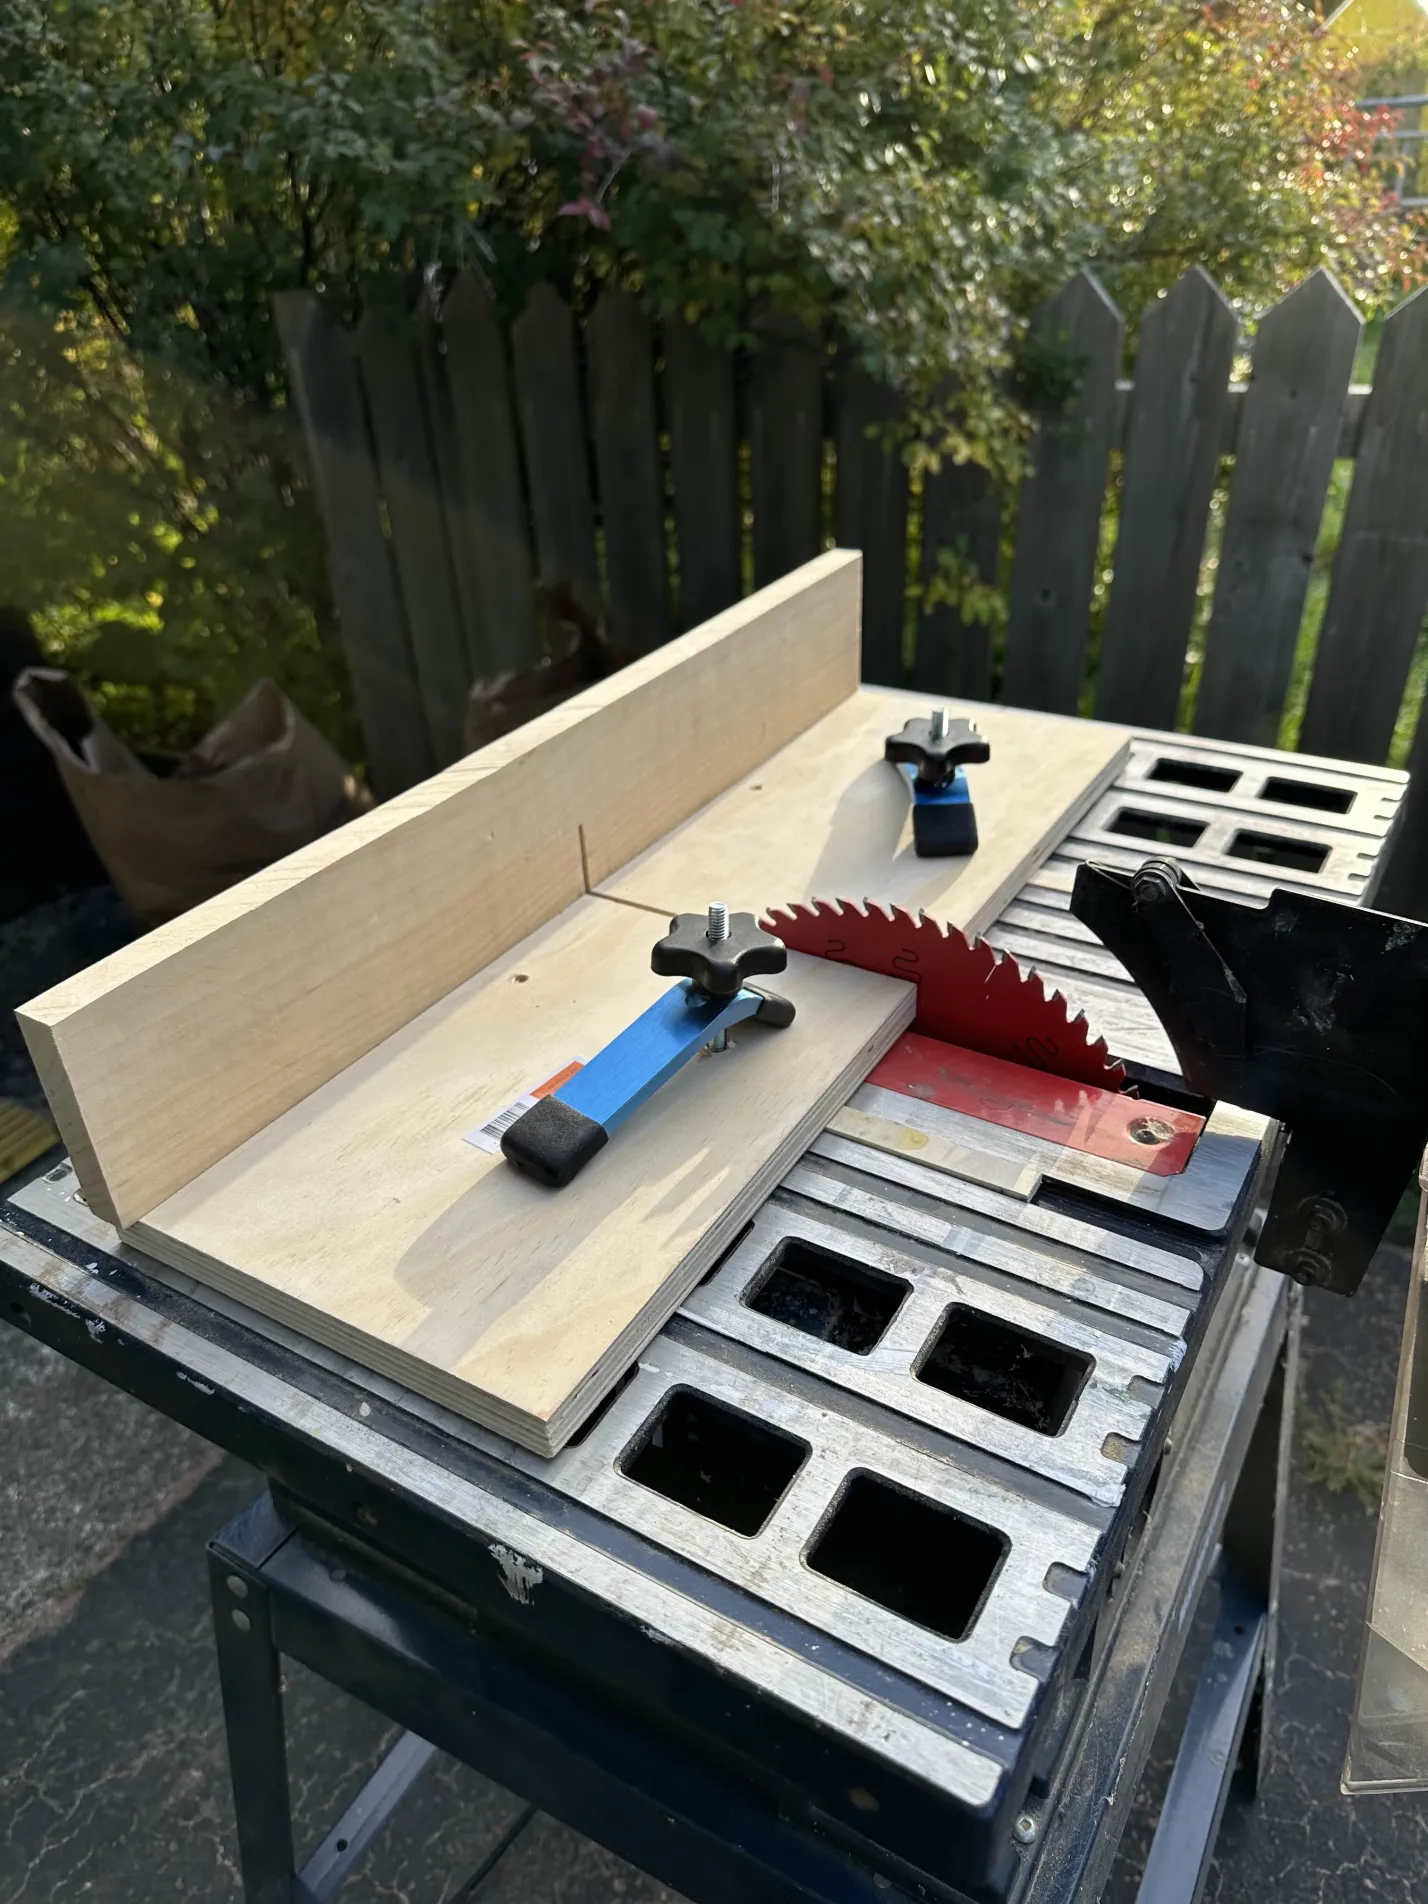
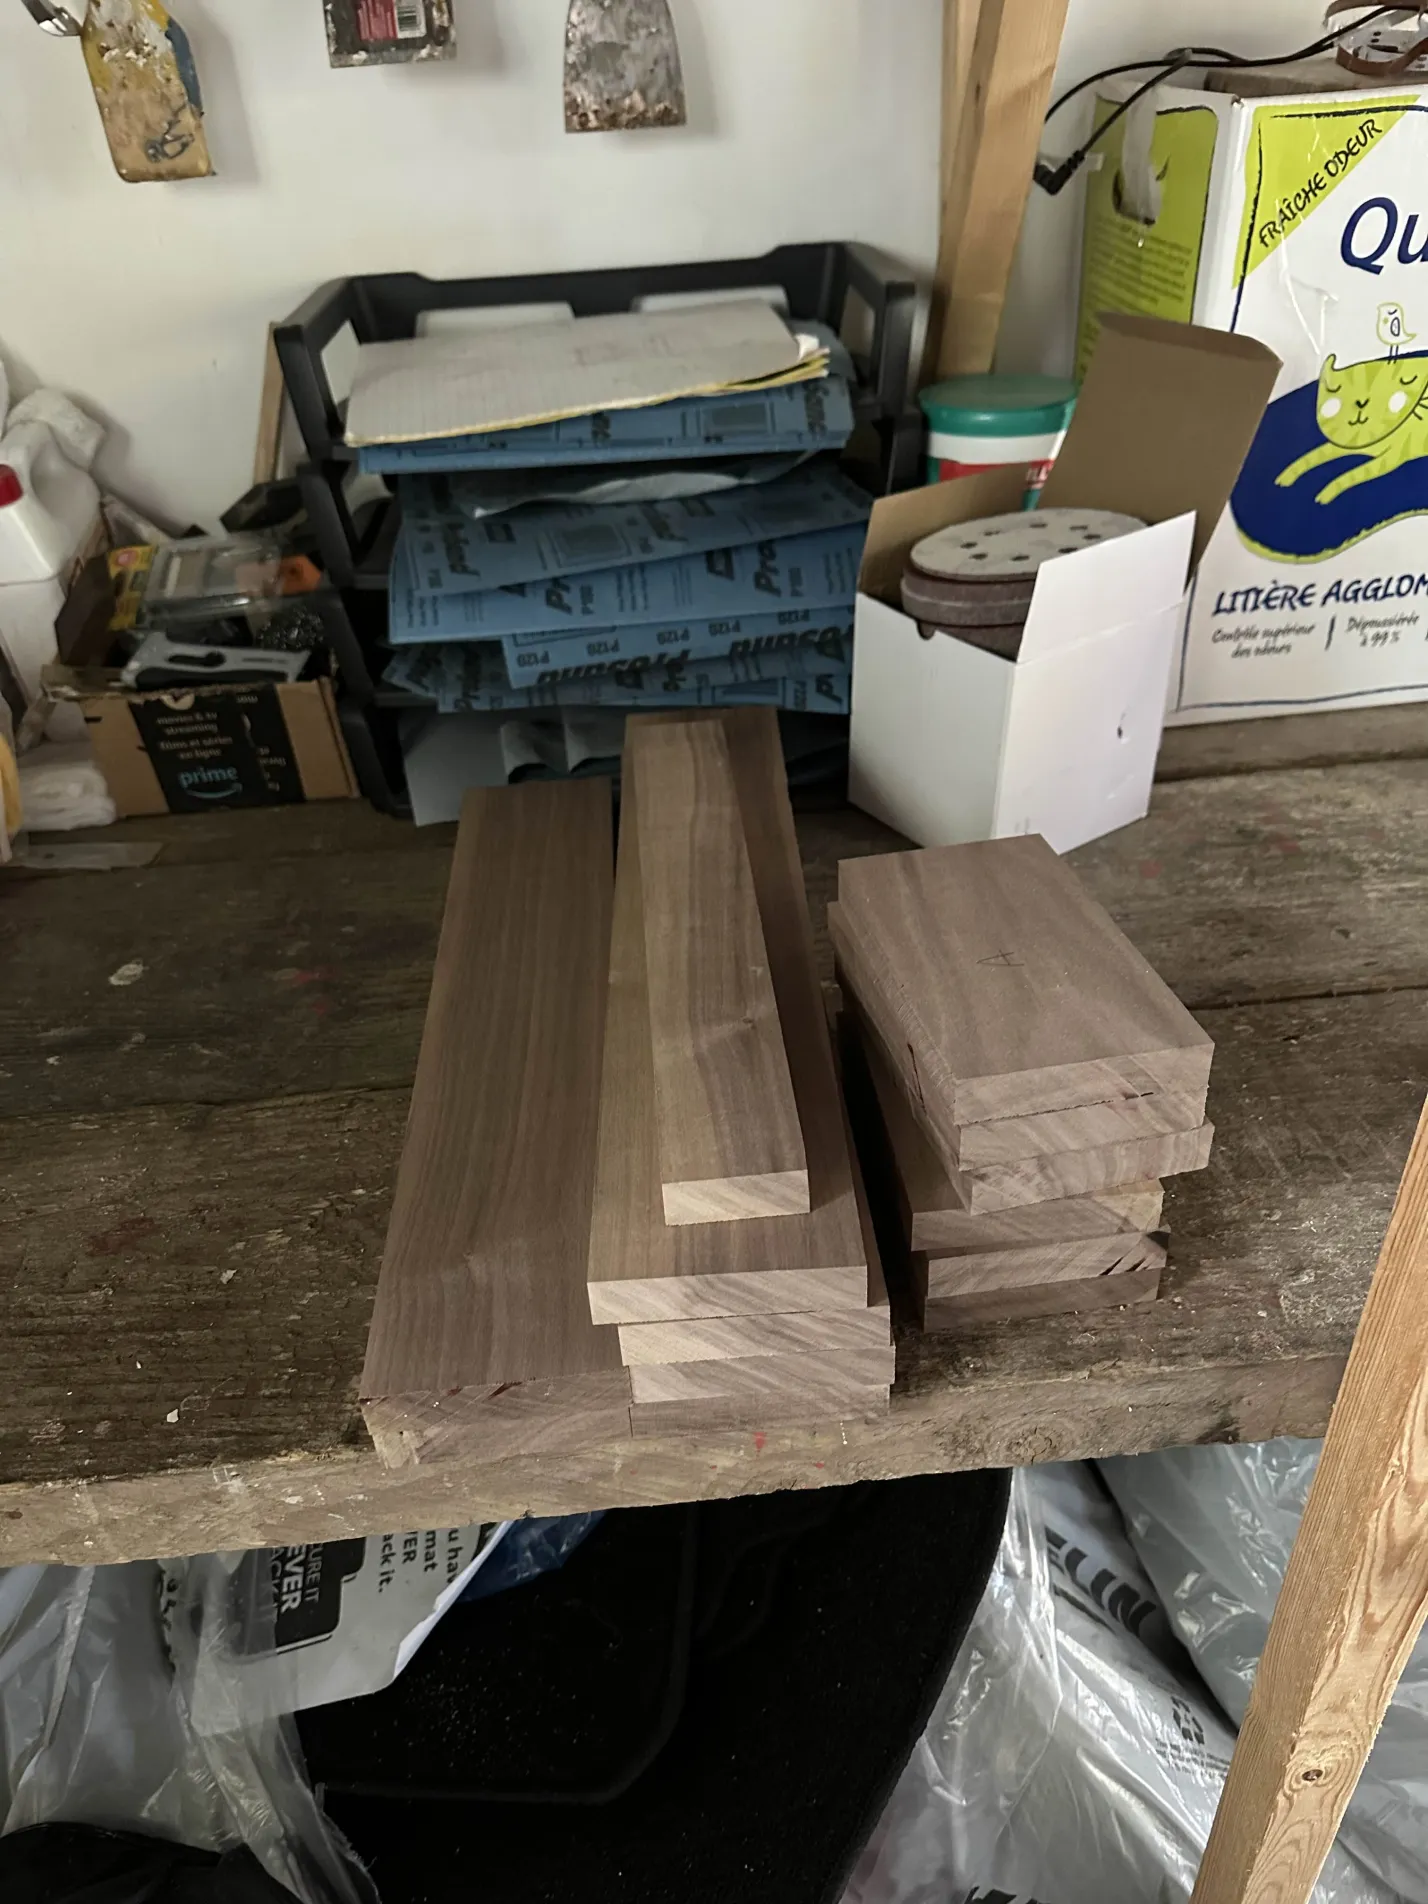
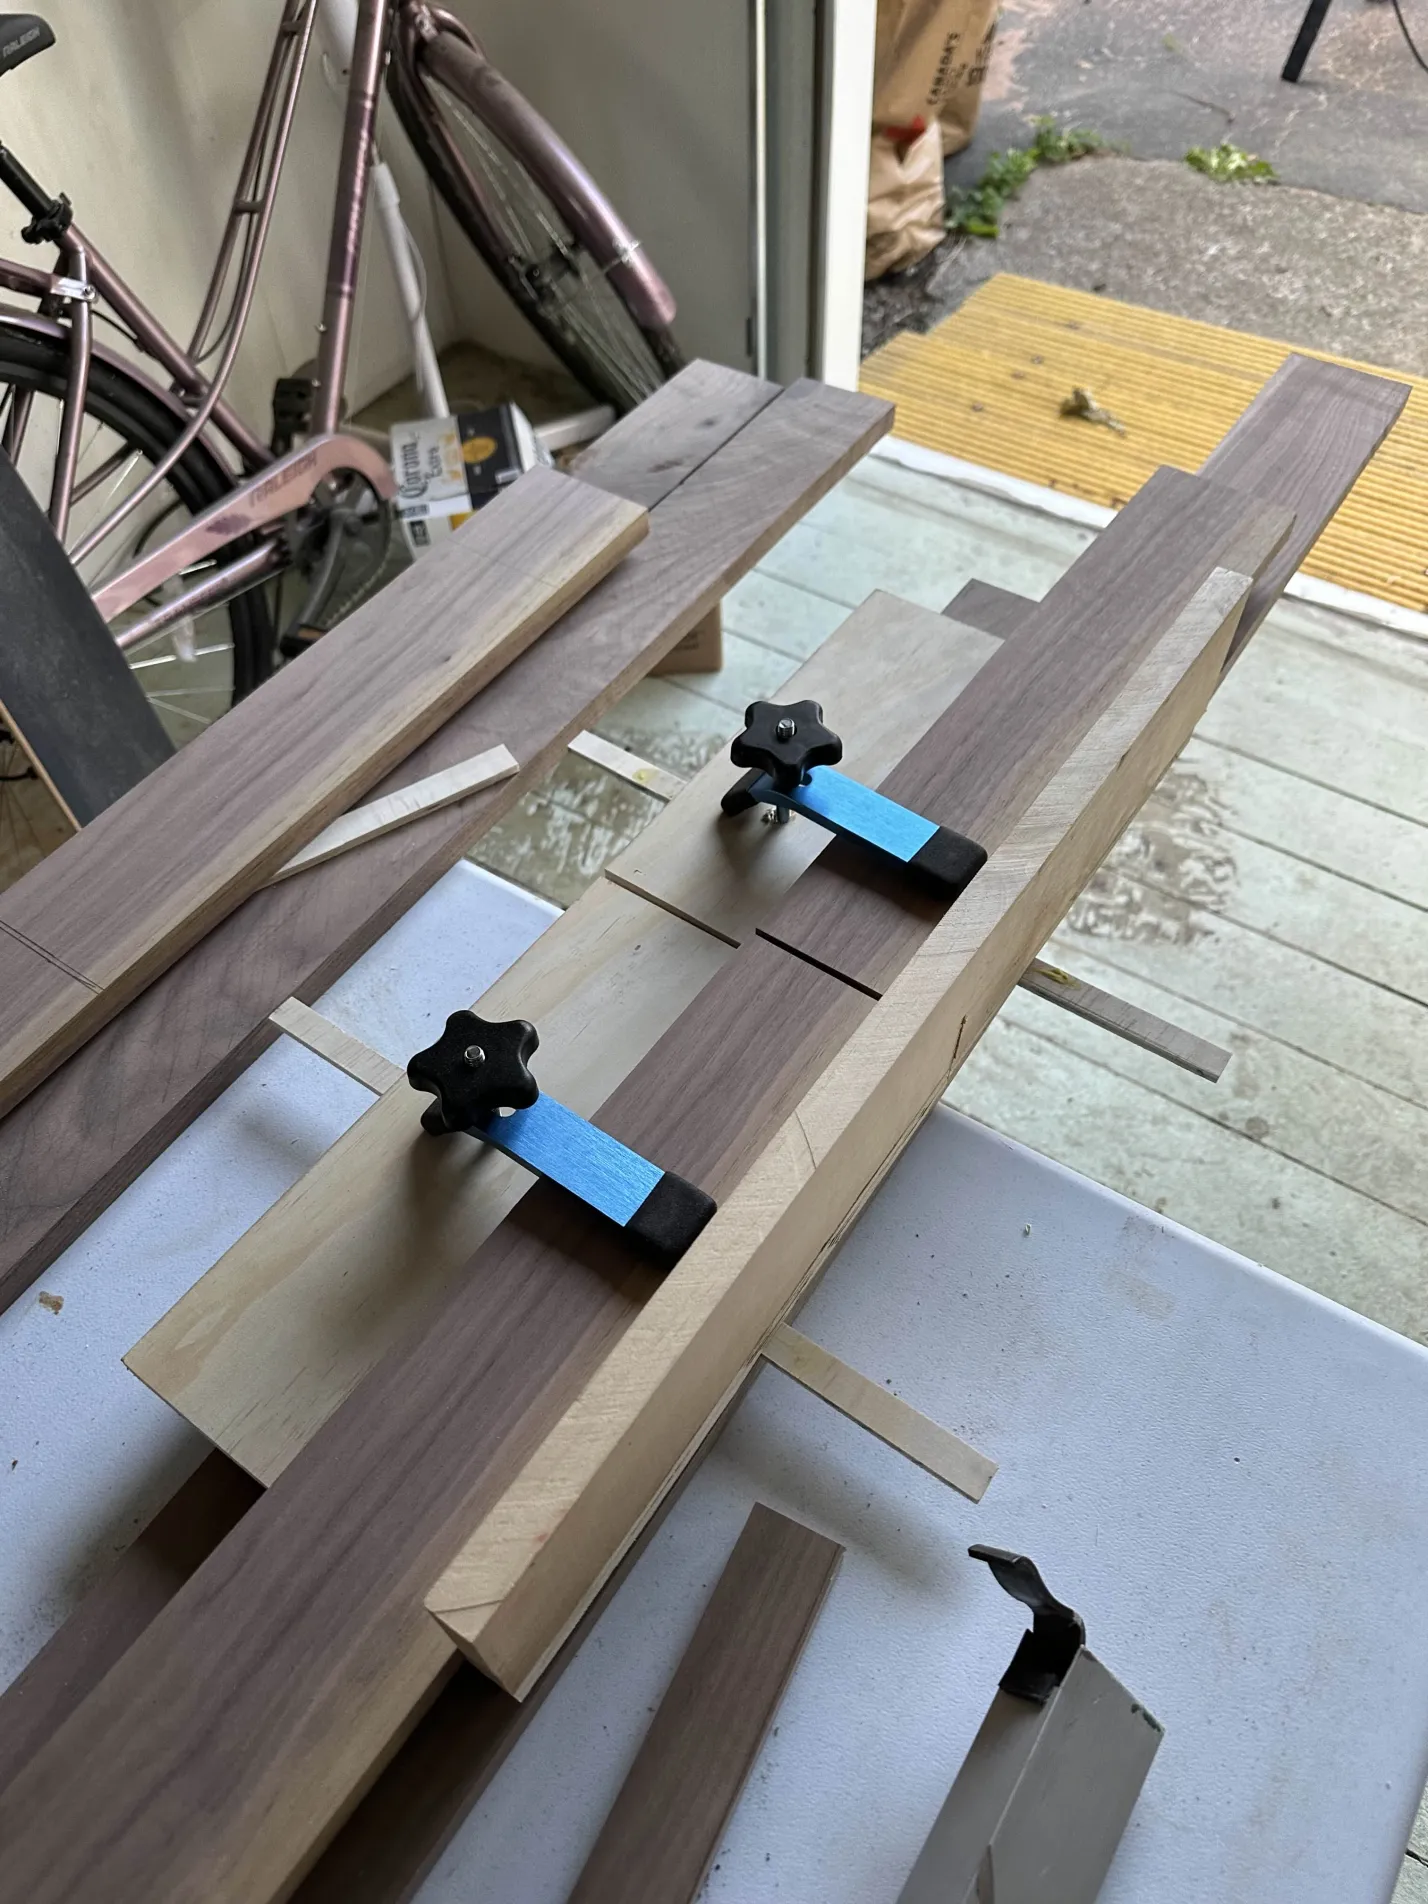
Gotta work with what you got
October 20th
This mistake/limitation cost me a good 3 weekend days of gluing, patching, and fixing. But if I had a bigger table saw, it would have been less than a day and much more accurate.
My hand-me-down table saw is small
The instructions say to glue the boards length-wise as shown and THEN make your horizontal width cuts at a 45, but I don’t have a very big table saw.
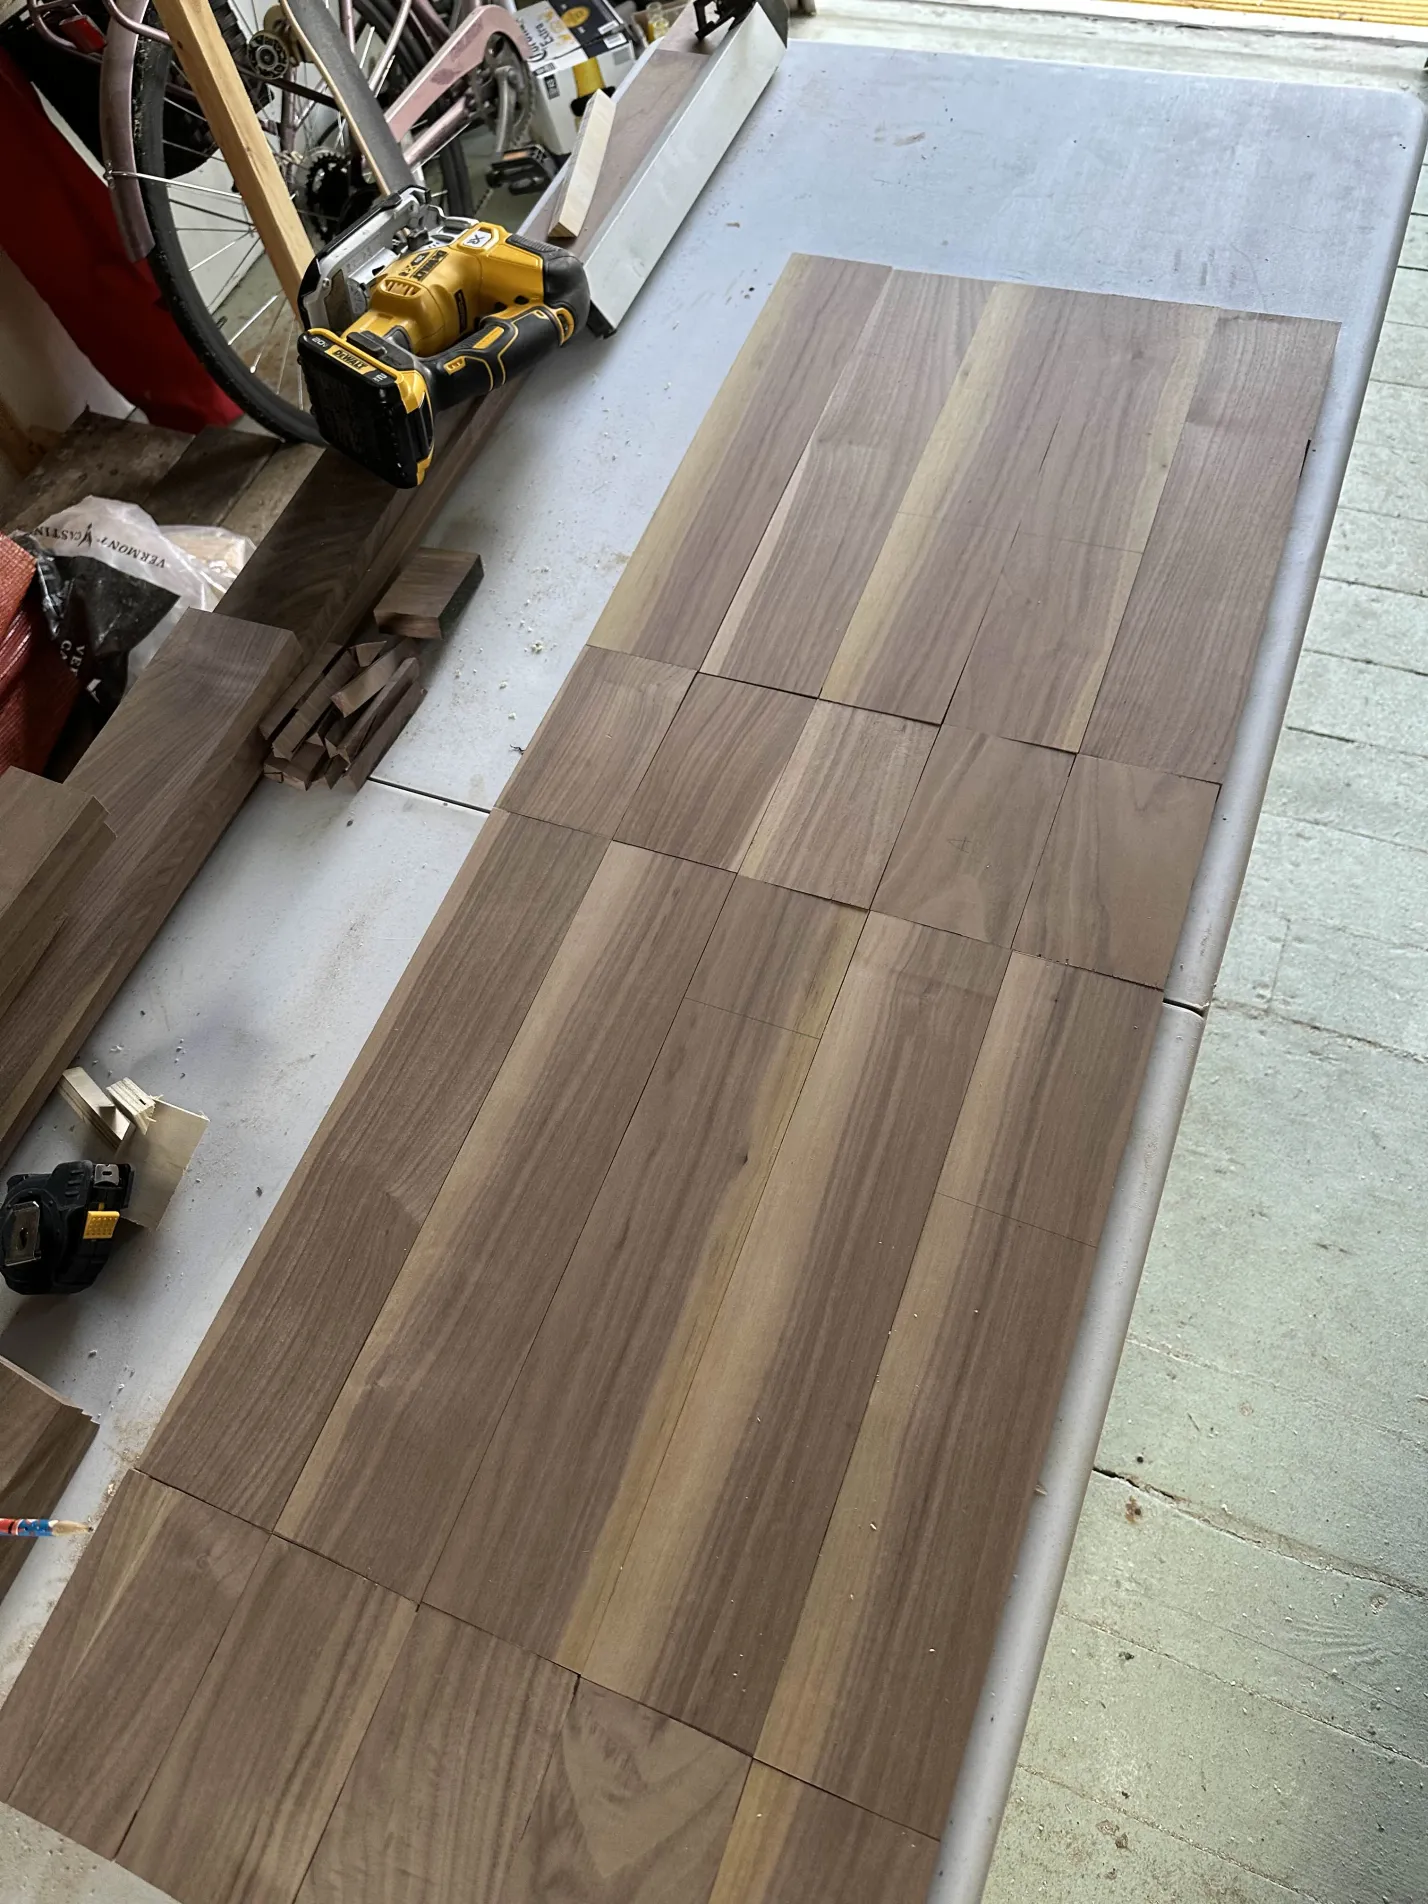
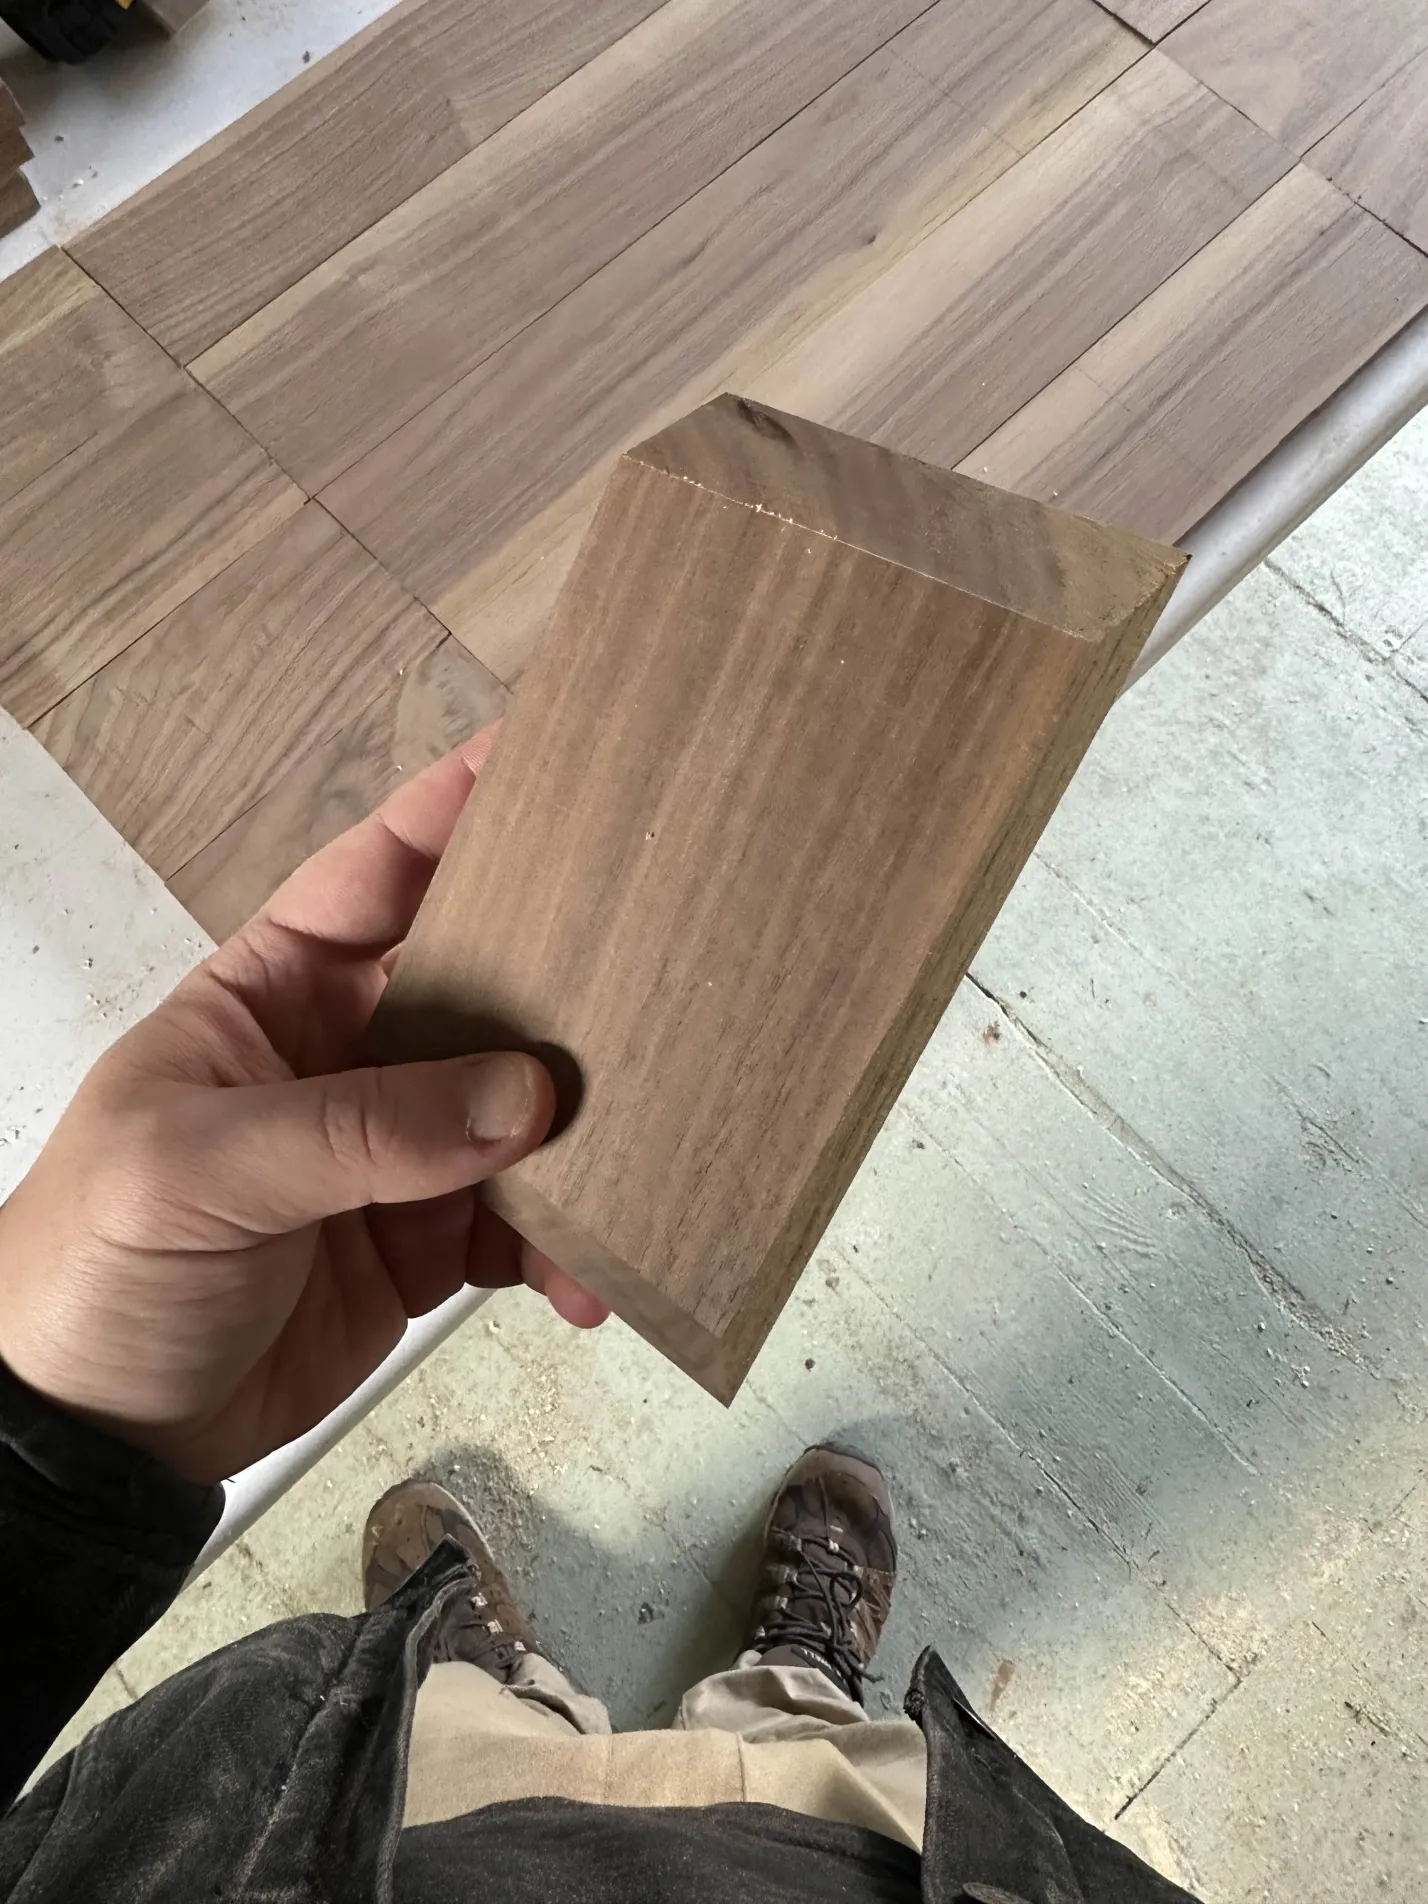
I had to cut each of these pieces INDIVIDUALLY, then at a 45.
It took me days.
But if I just wanted a nice end table fast, I would have gone to Osmond’s and saved time and money.
Glue is stronger than wood
I could have left the boards at the length they were given to me, but glue is stronger than wood and the instructions used a different width of lumber so I wanted to follow along.
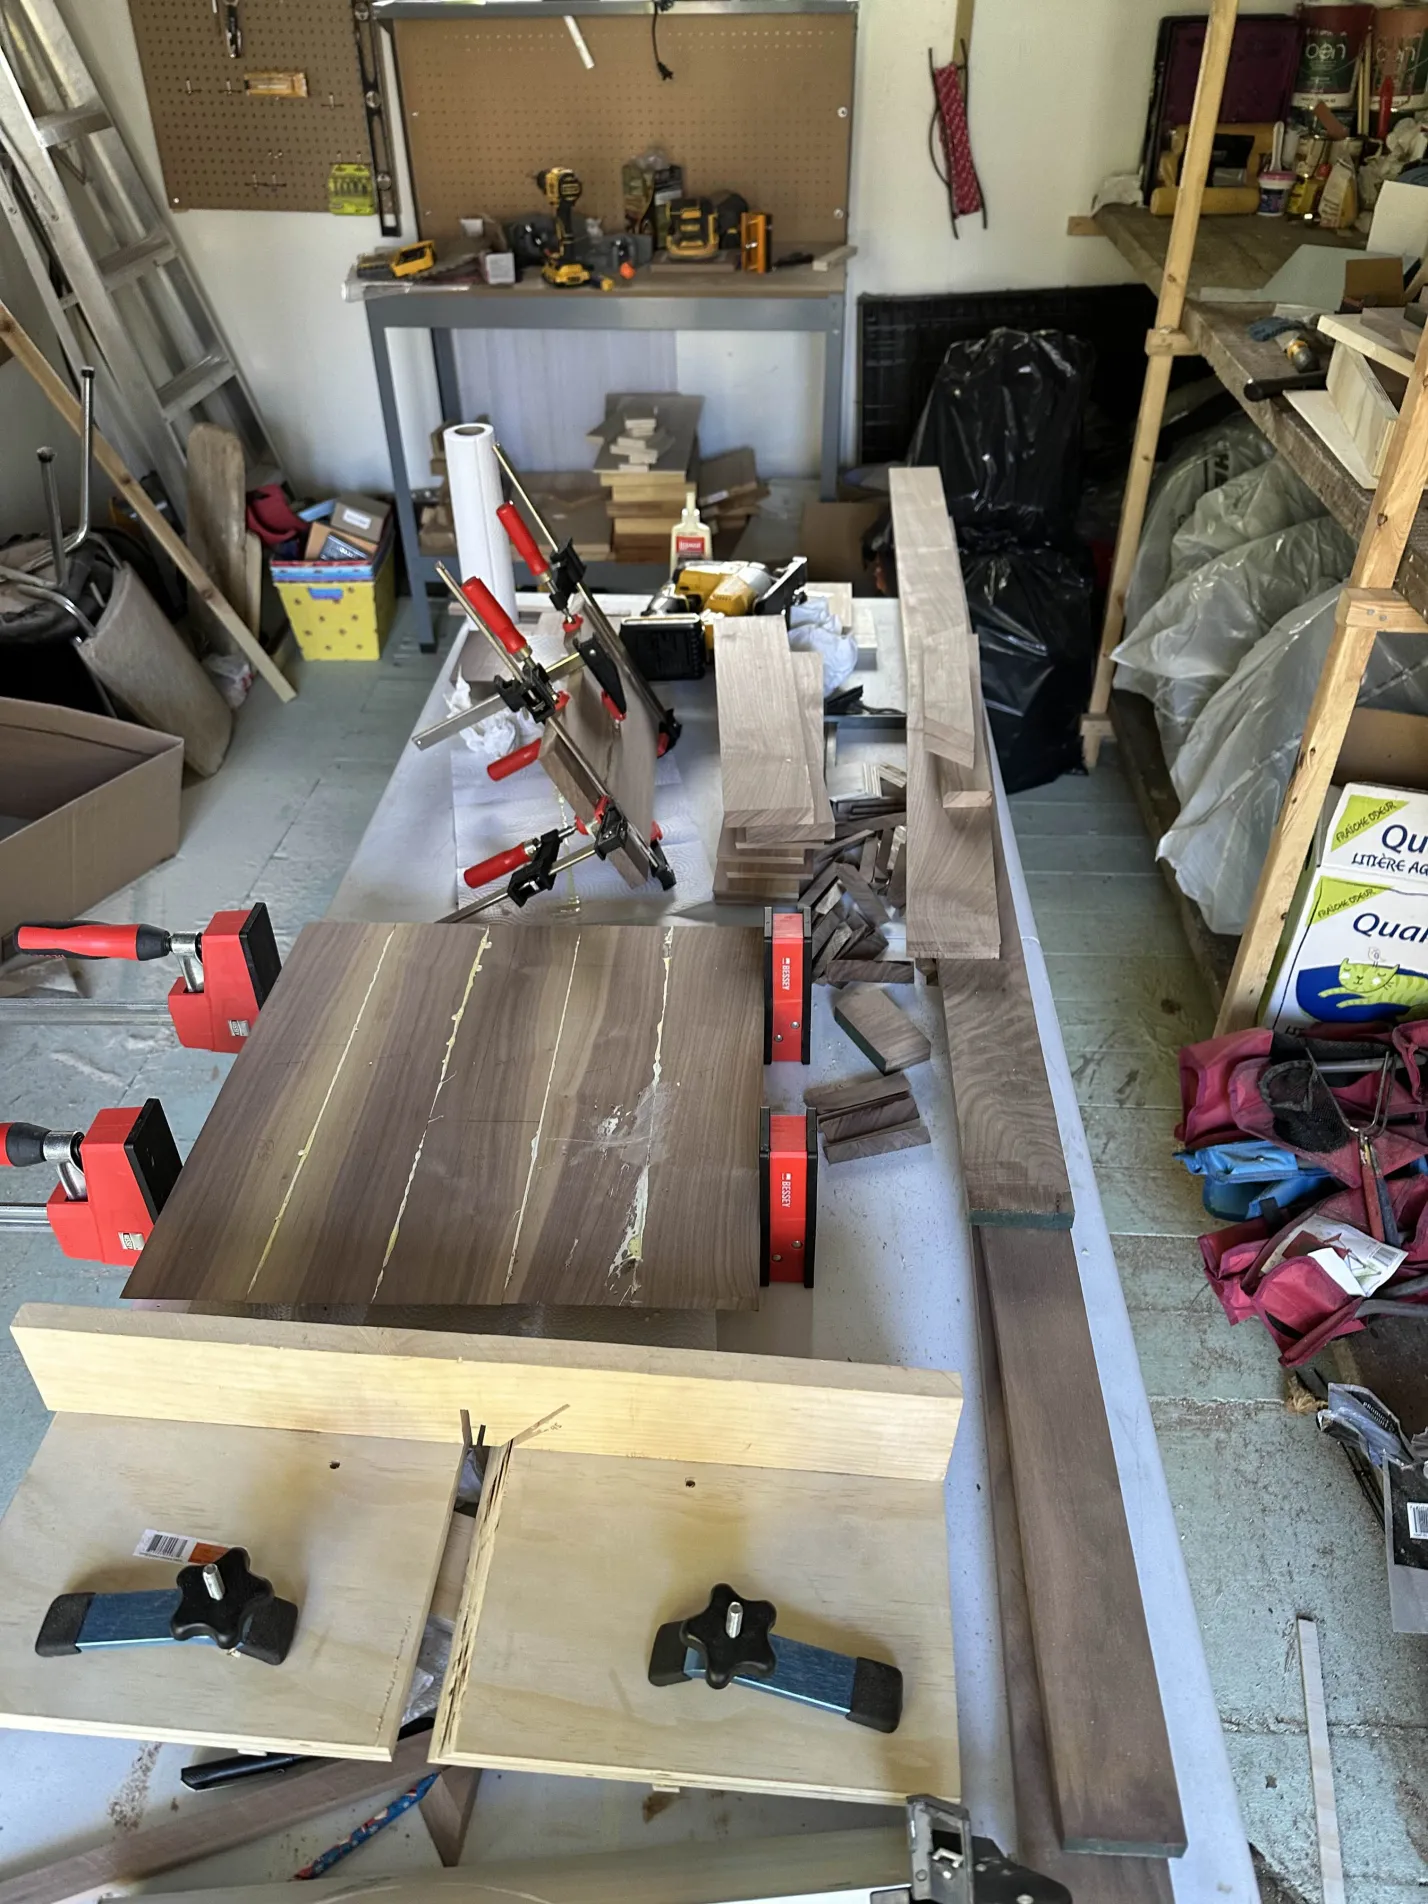
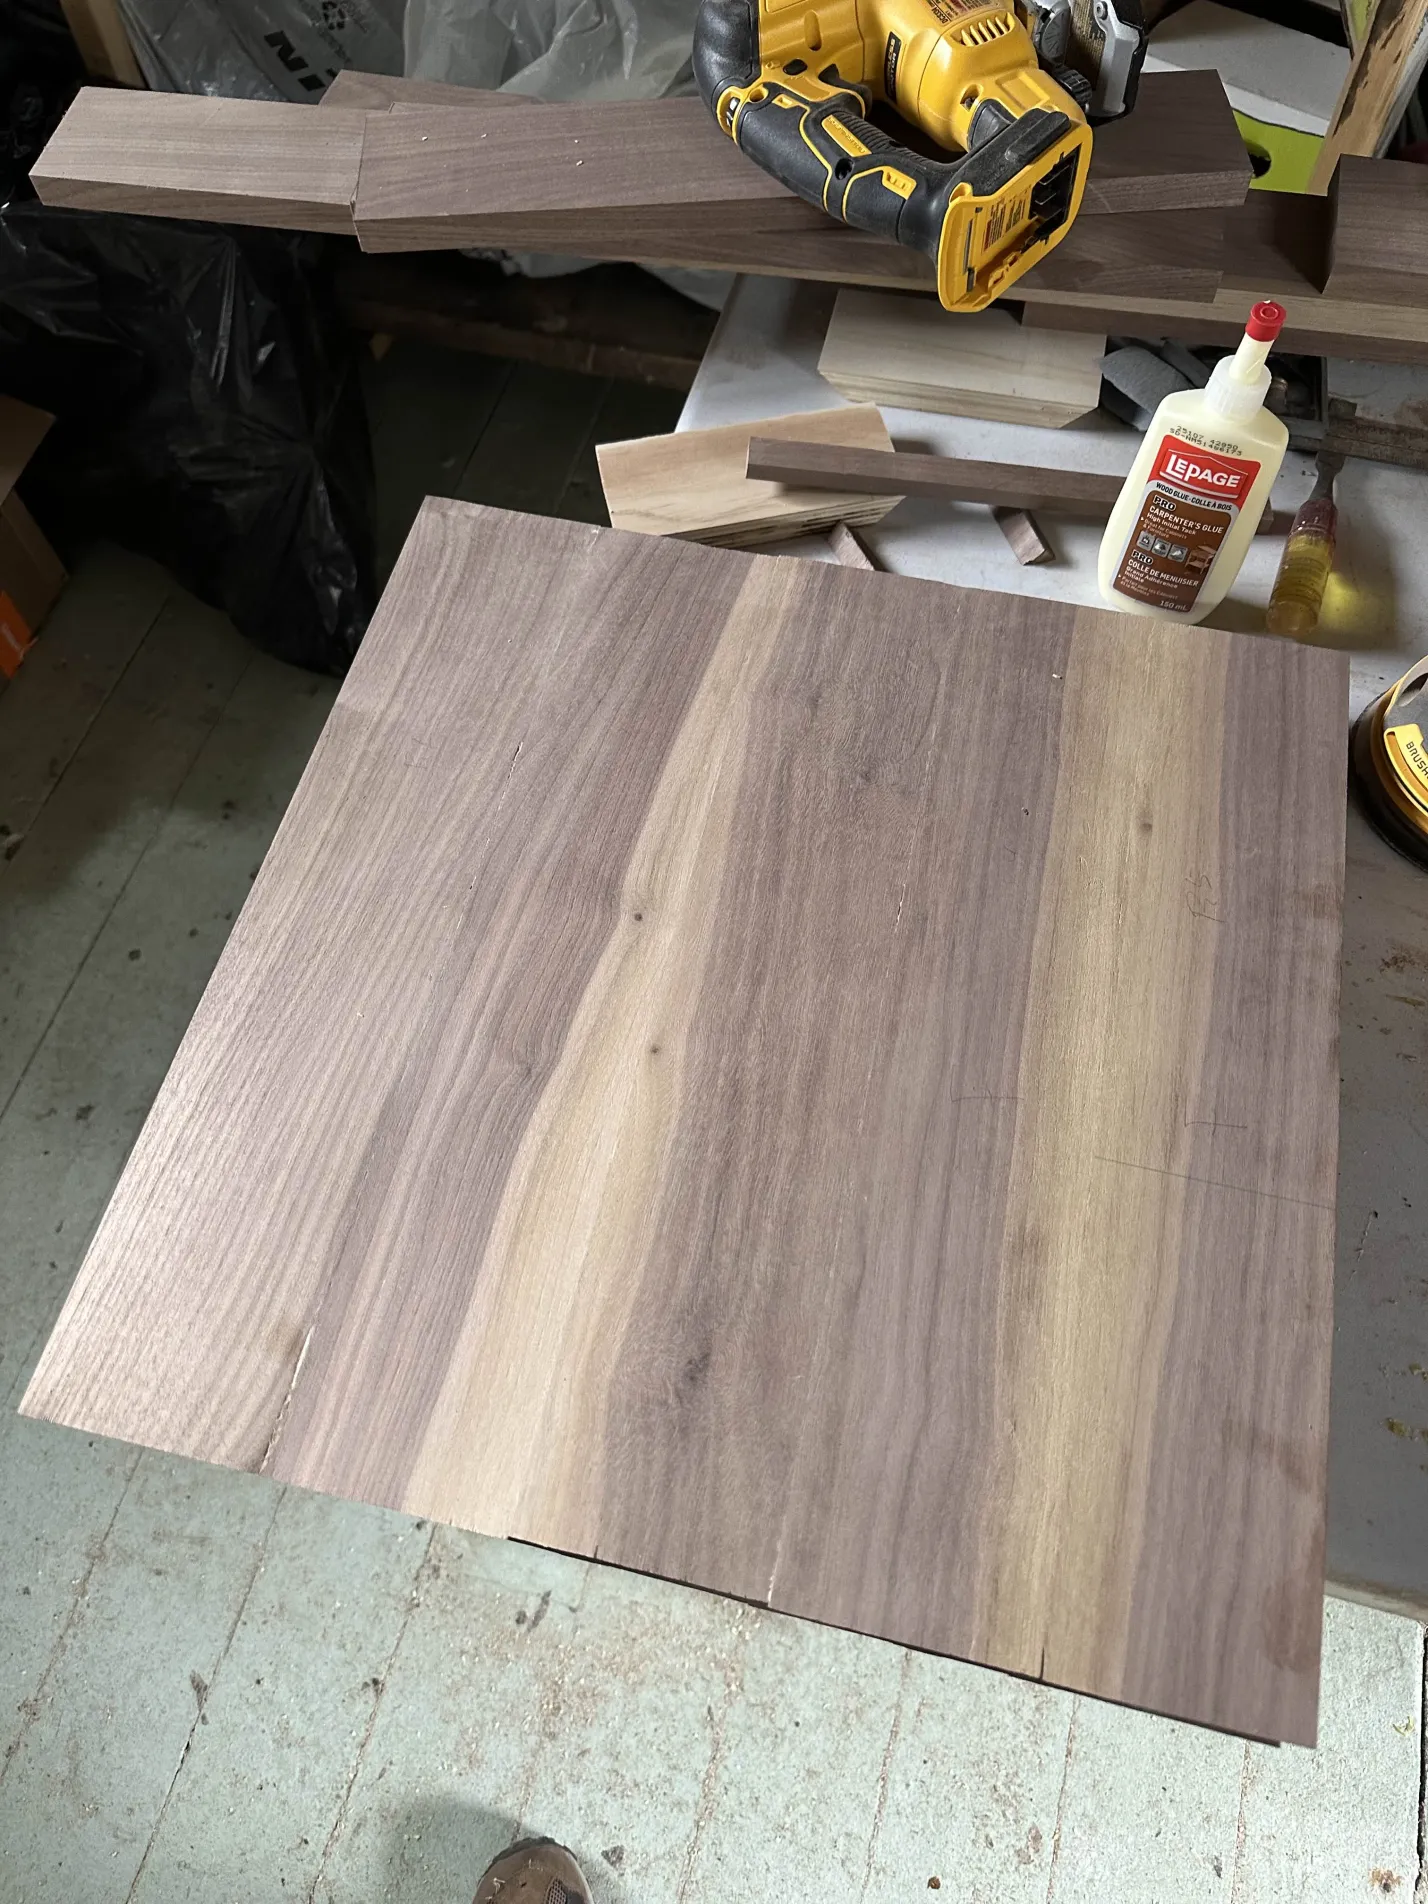
My beautiful legs
November 21st
The legs were the trickiest part and I royally screwed up one of them, but I just used it for the back and nobody has noticed.
It’s beginning to get cold out and my shed doesn’t have heating so this is now a race to finish before it starts snowing.
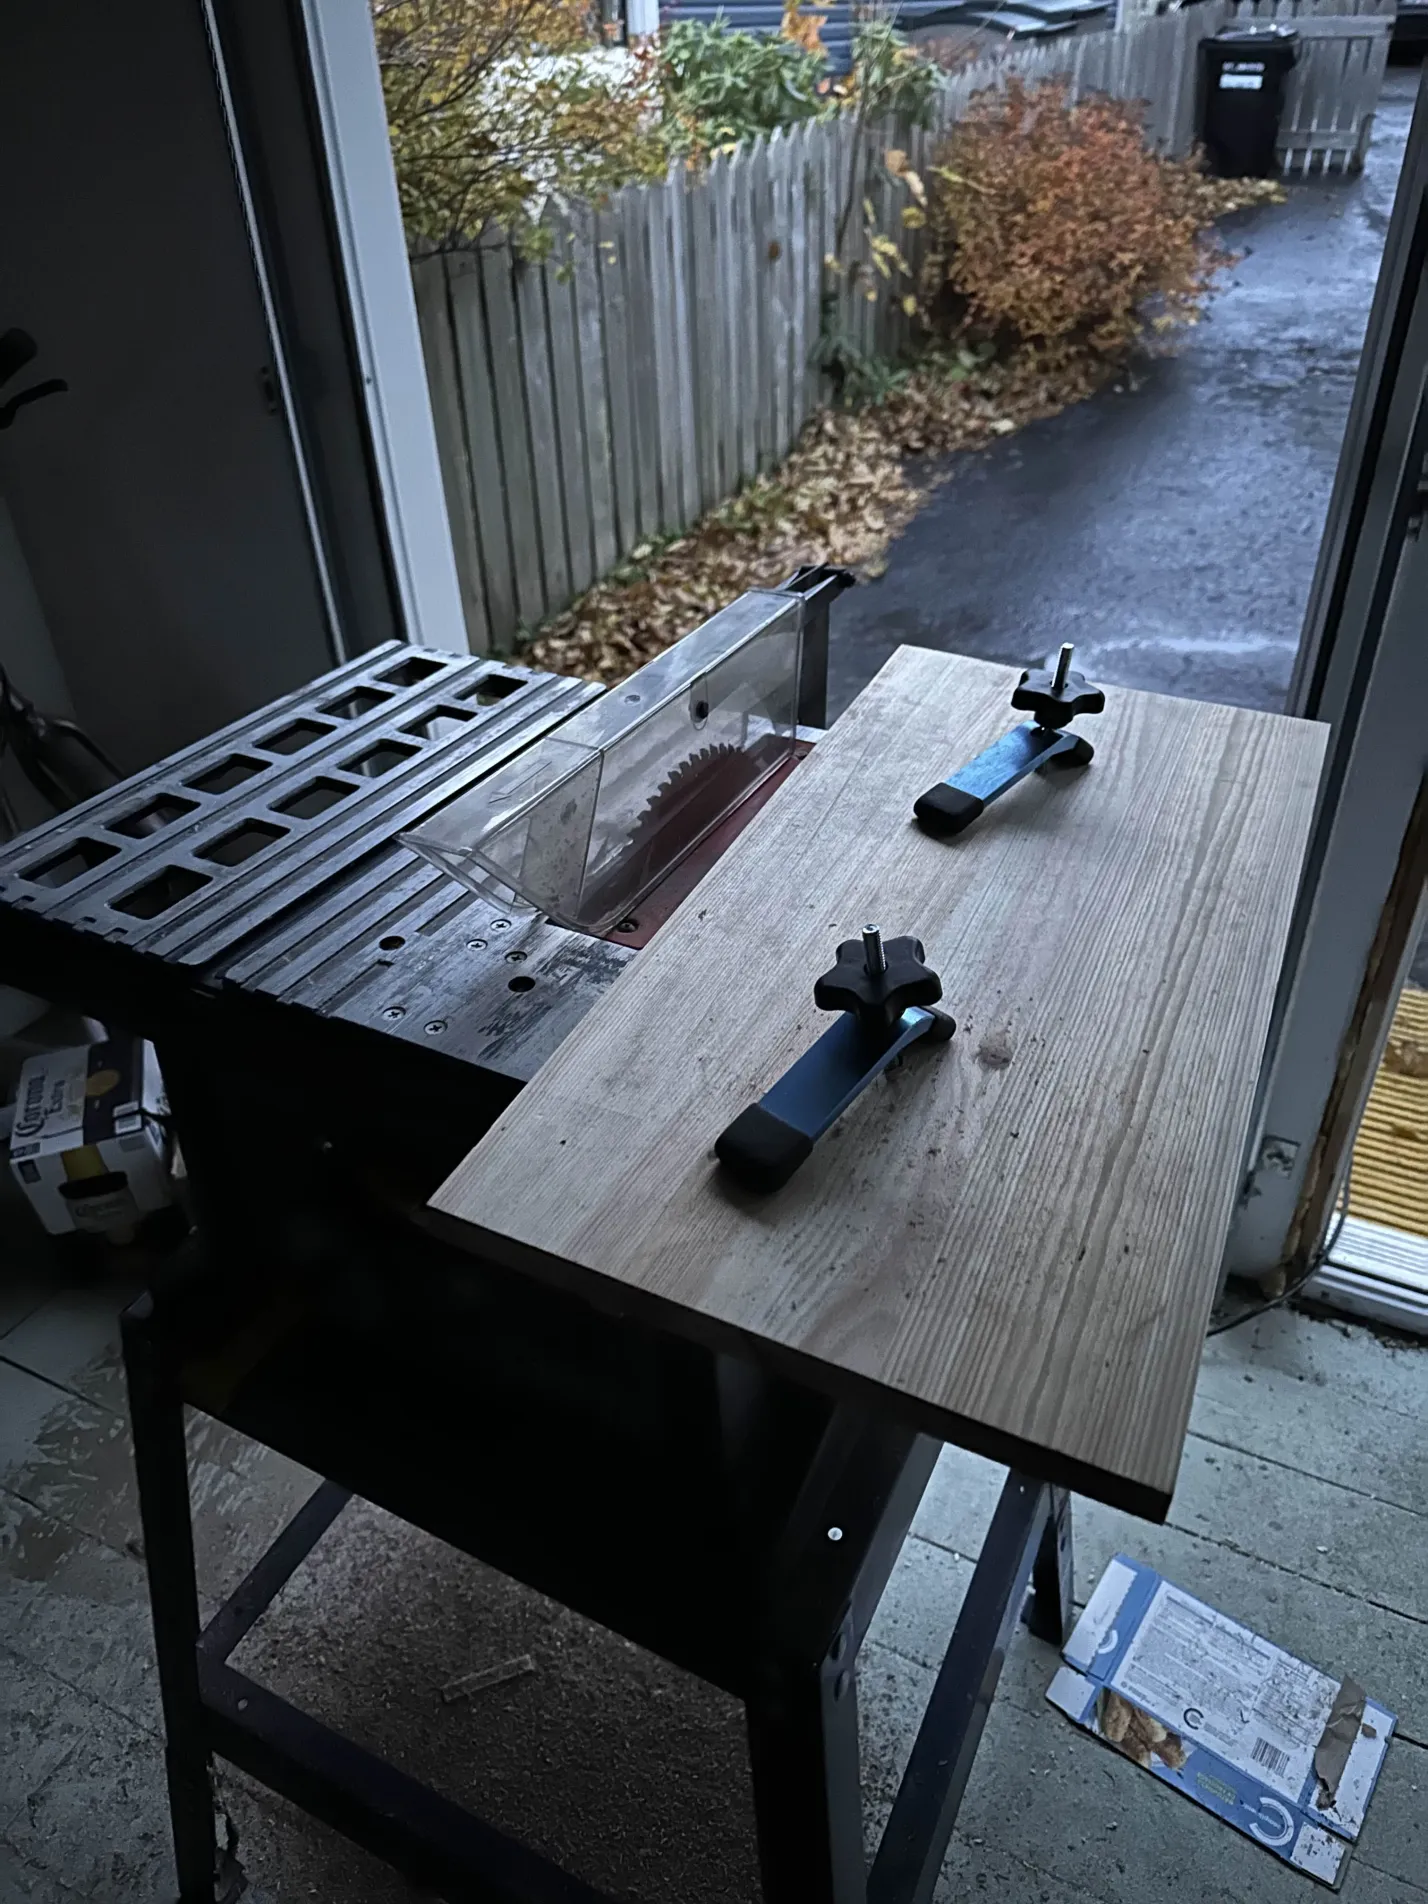
JIT: Jig in time?
I threw this jig together in ~30 mins. I lined up my cut lines from the bottom then clamped them.
It worked really well. It’s not very fast but this completely replaces my need for a miter saw and it actually does more.
It’s very safe, too. There’s a rail on the bottom made of hardwood this time.
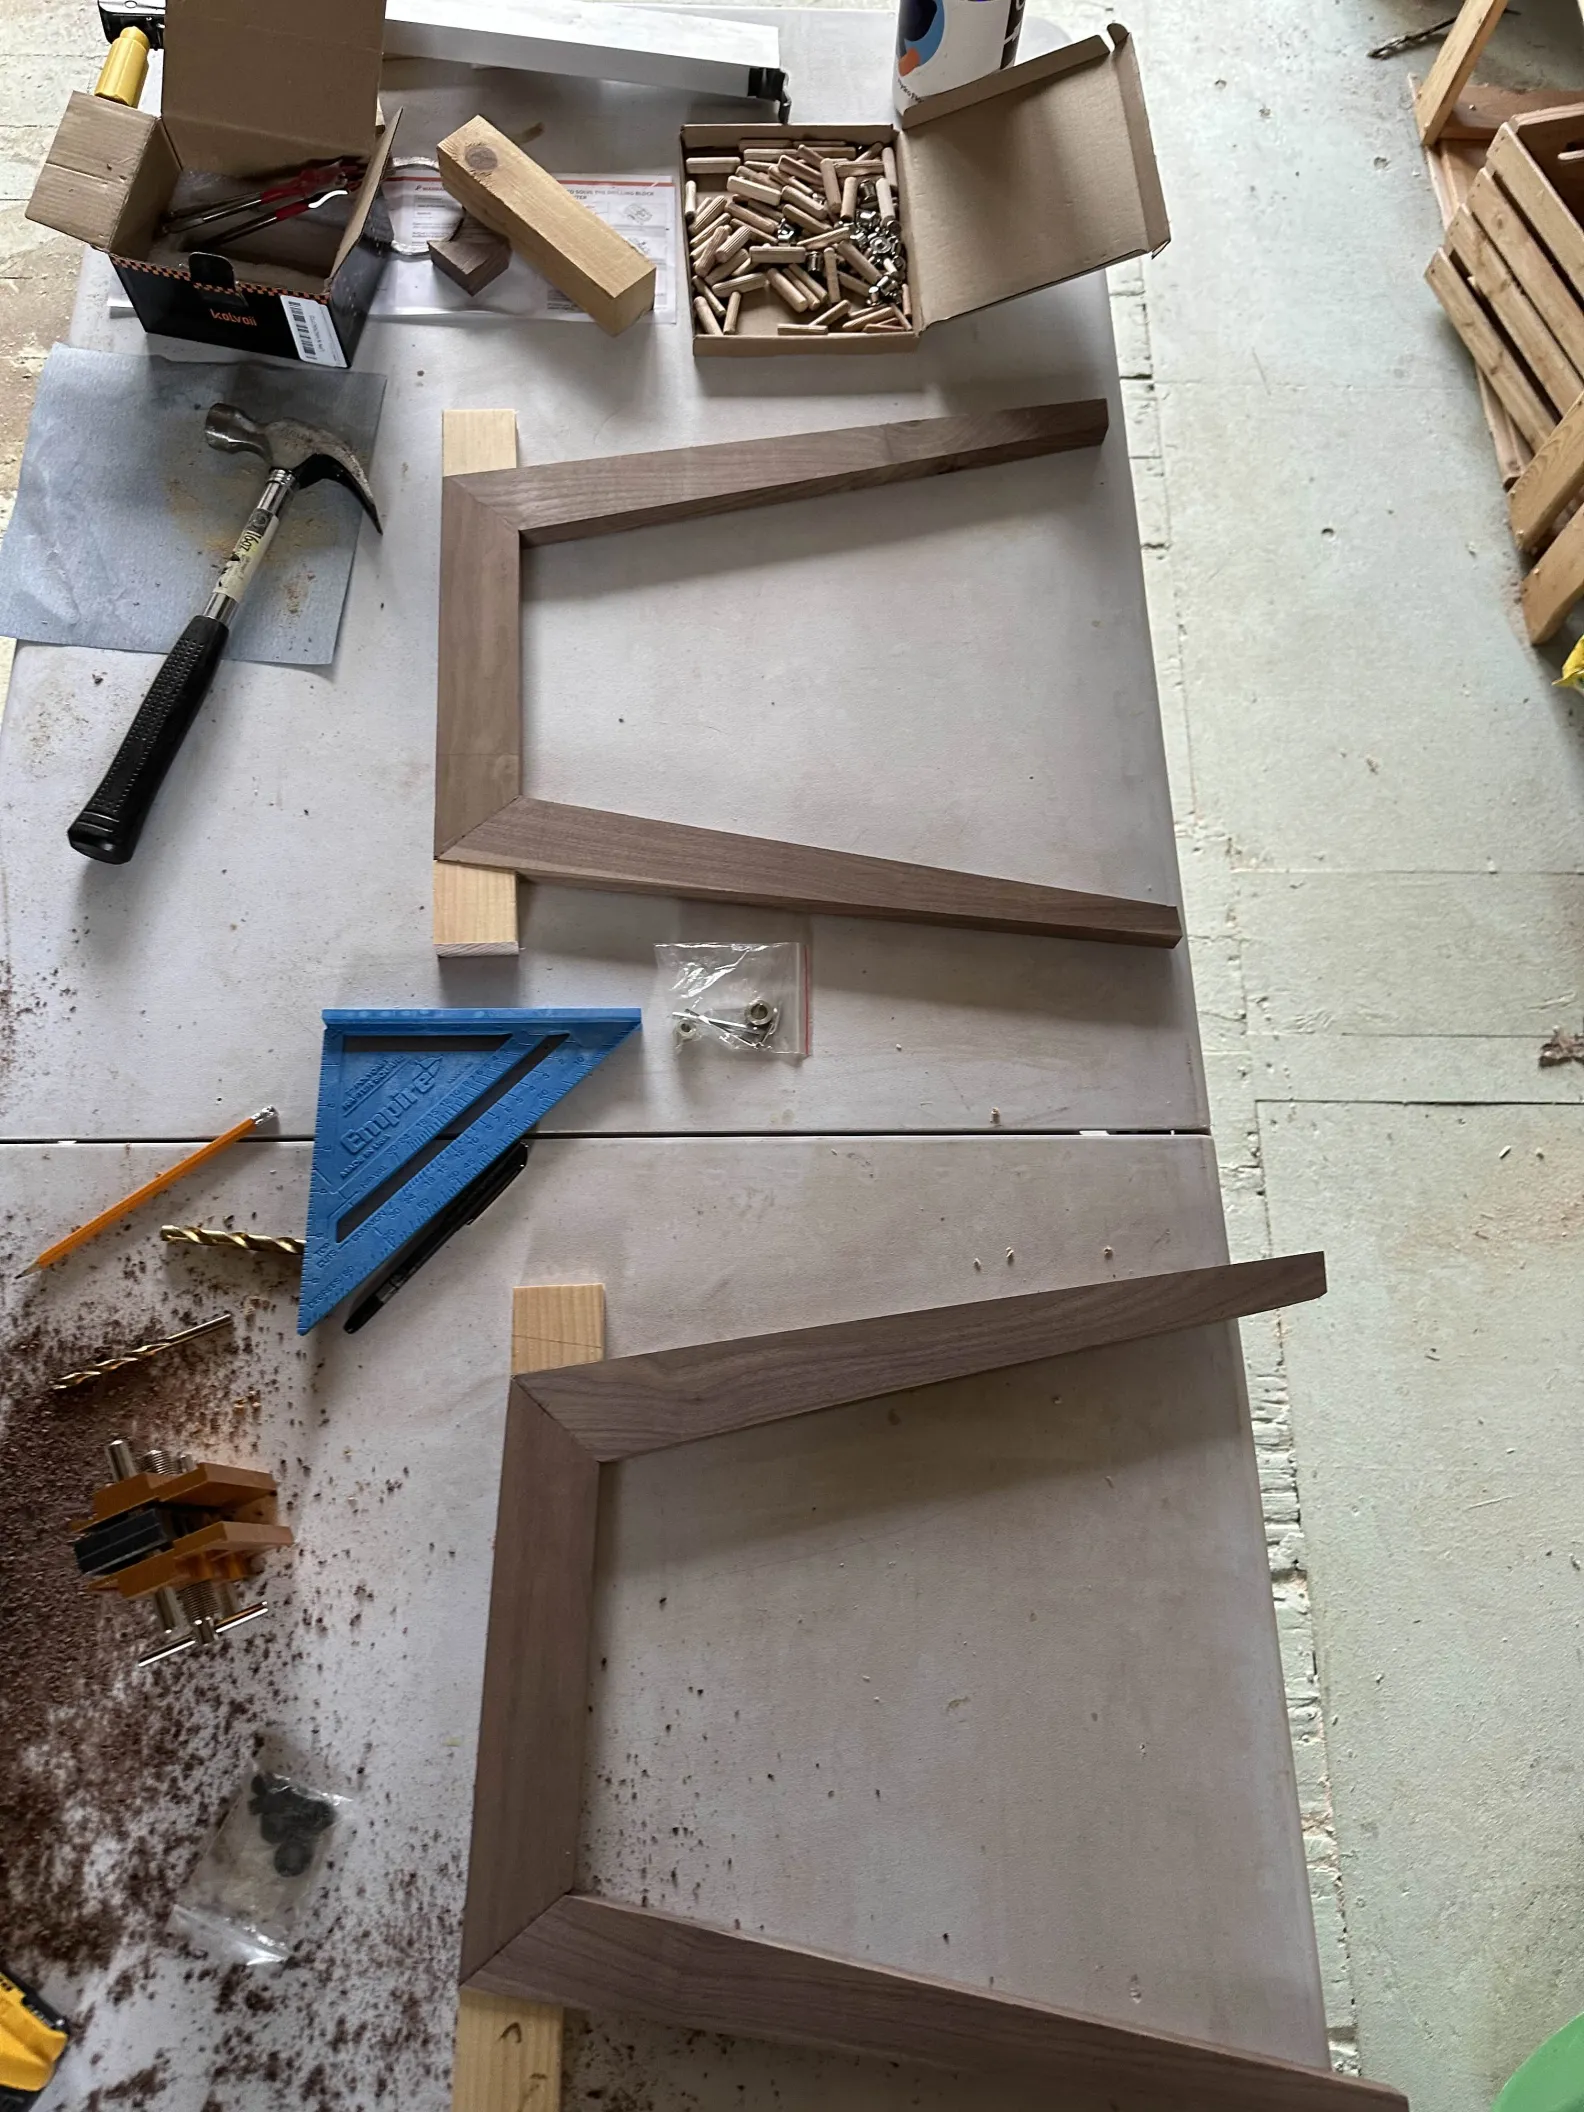
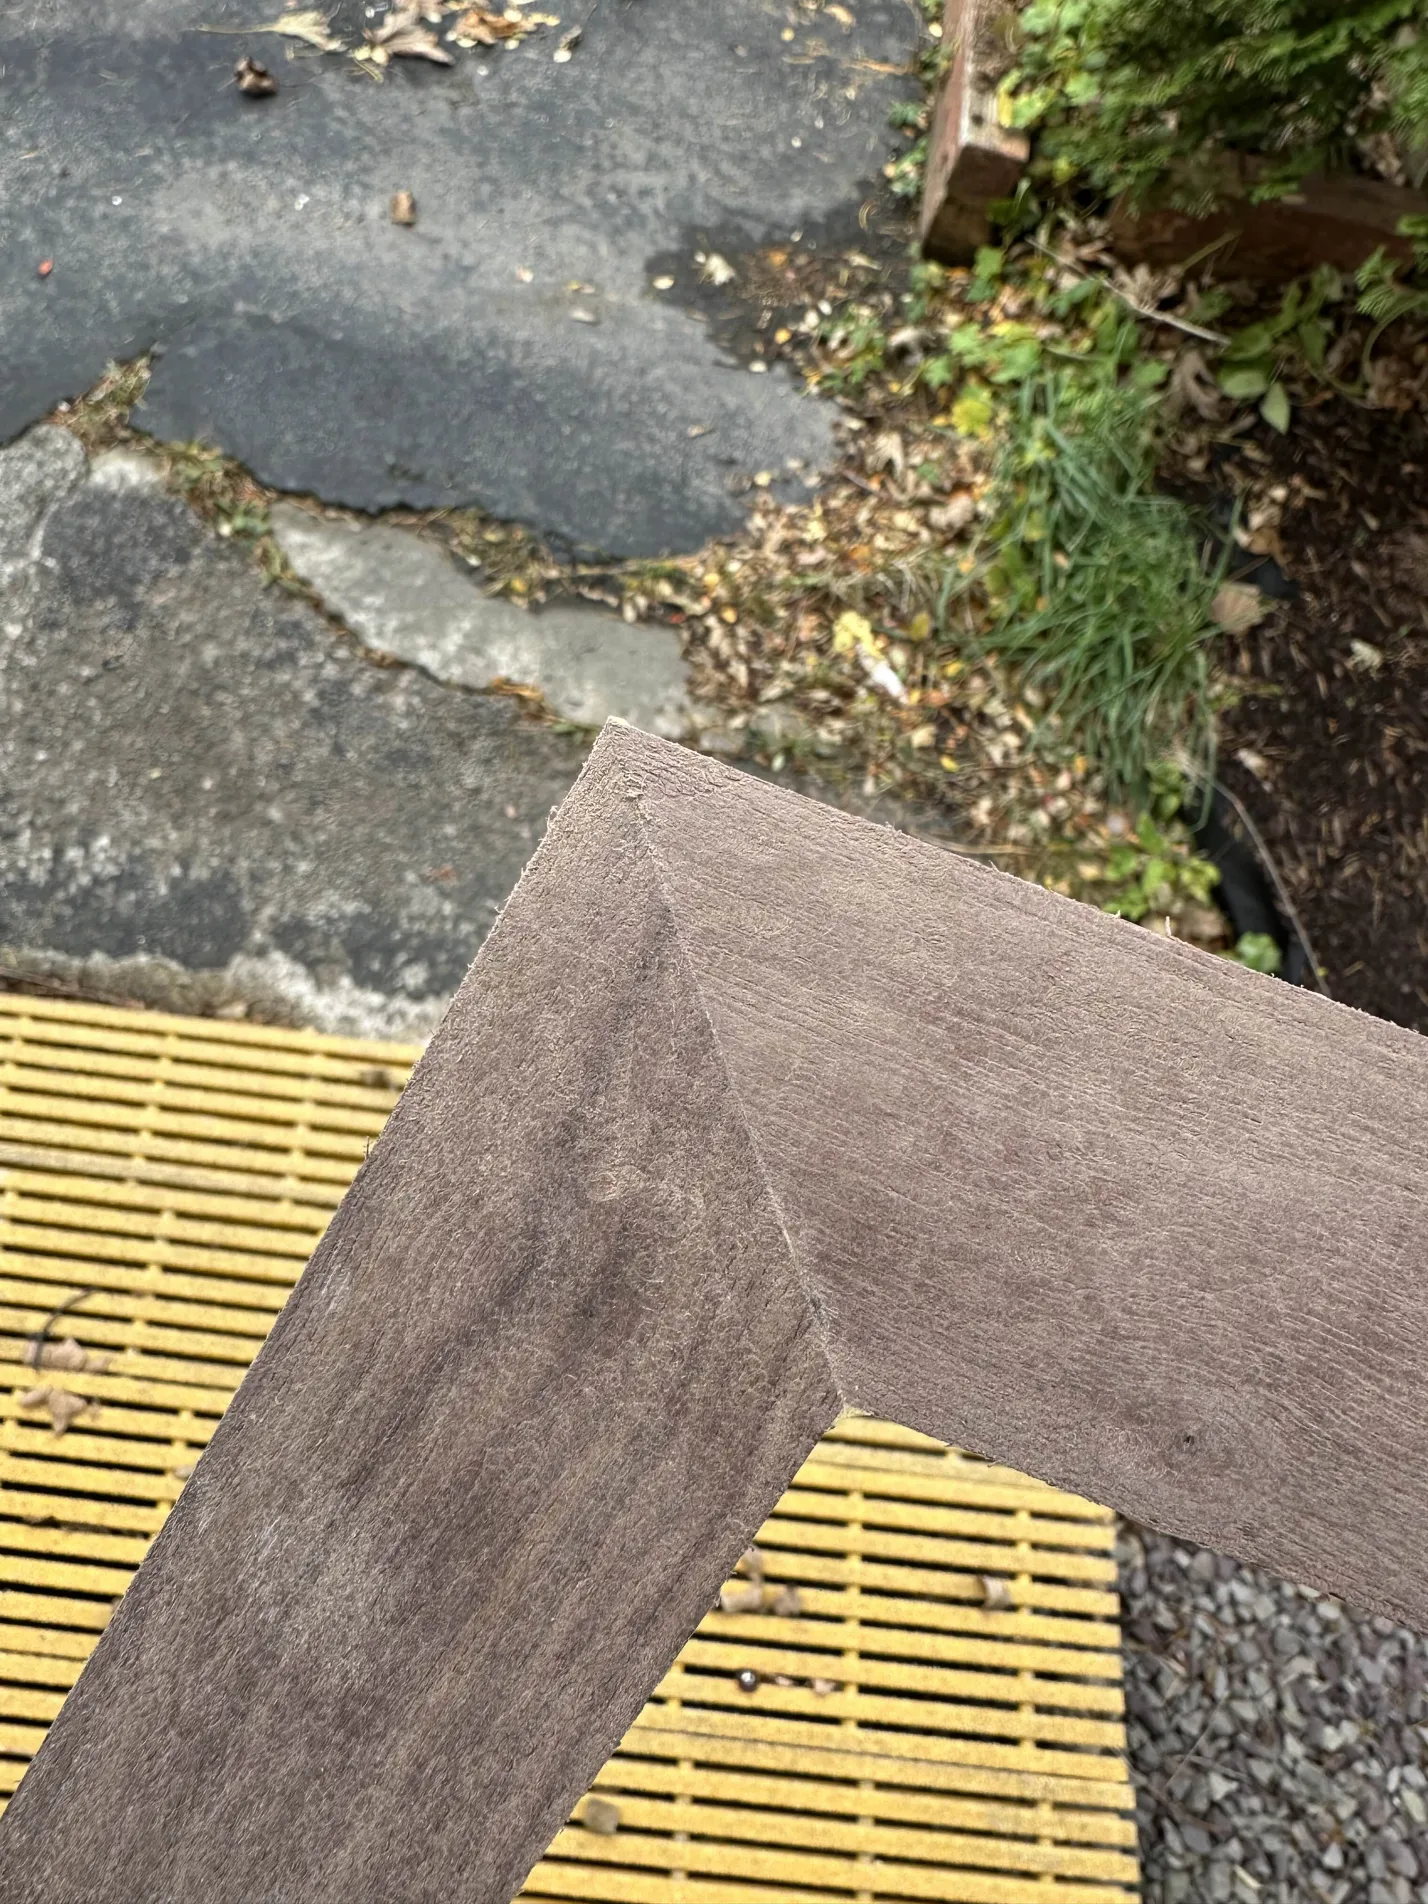
Much cleaner joints this time
Because the tapering jig was well built, the joints came out much nicer.
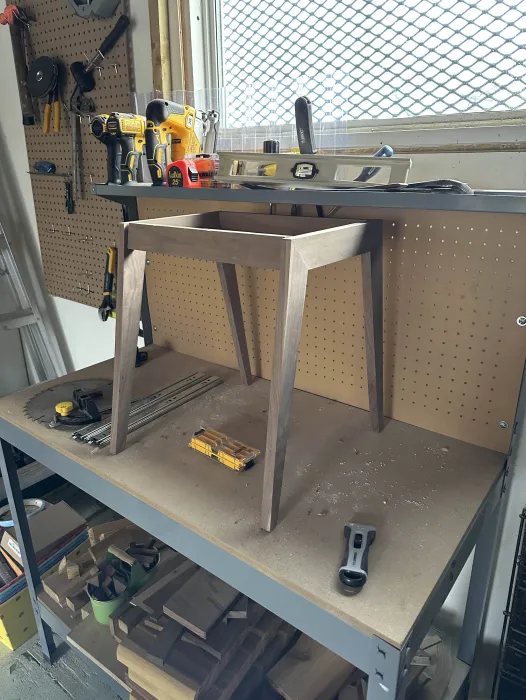
Sanding and Rounding
December 8th
This was my first time using polyurethane. After sanding, I used a tack cloth to clean up and some wiping rags from Home Depot. It’s incredible how a little bit of finish makes it feel like furniture in your hands.
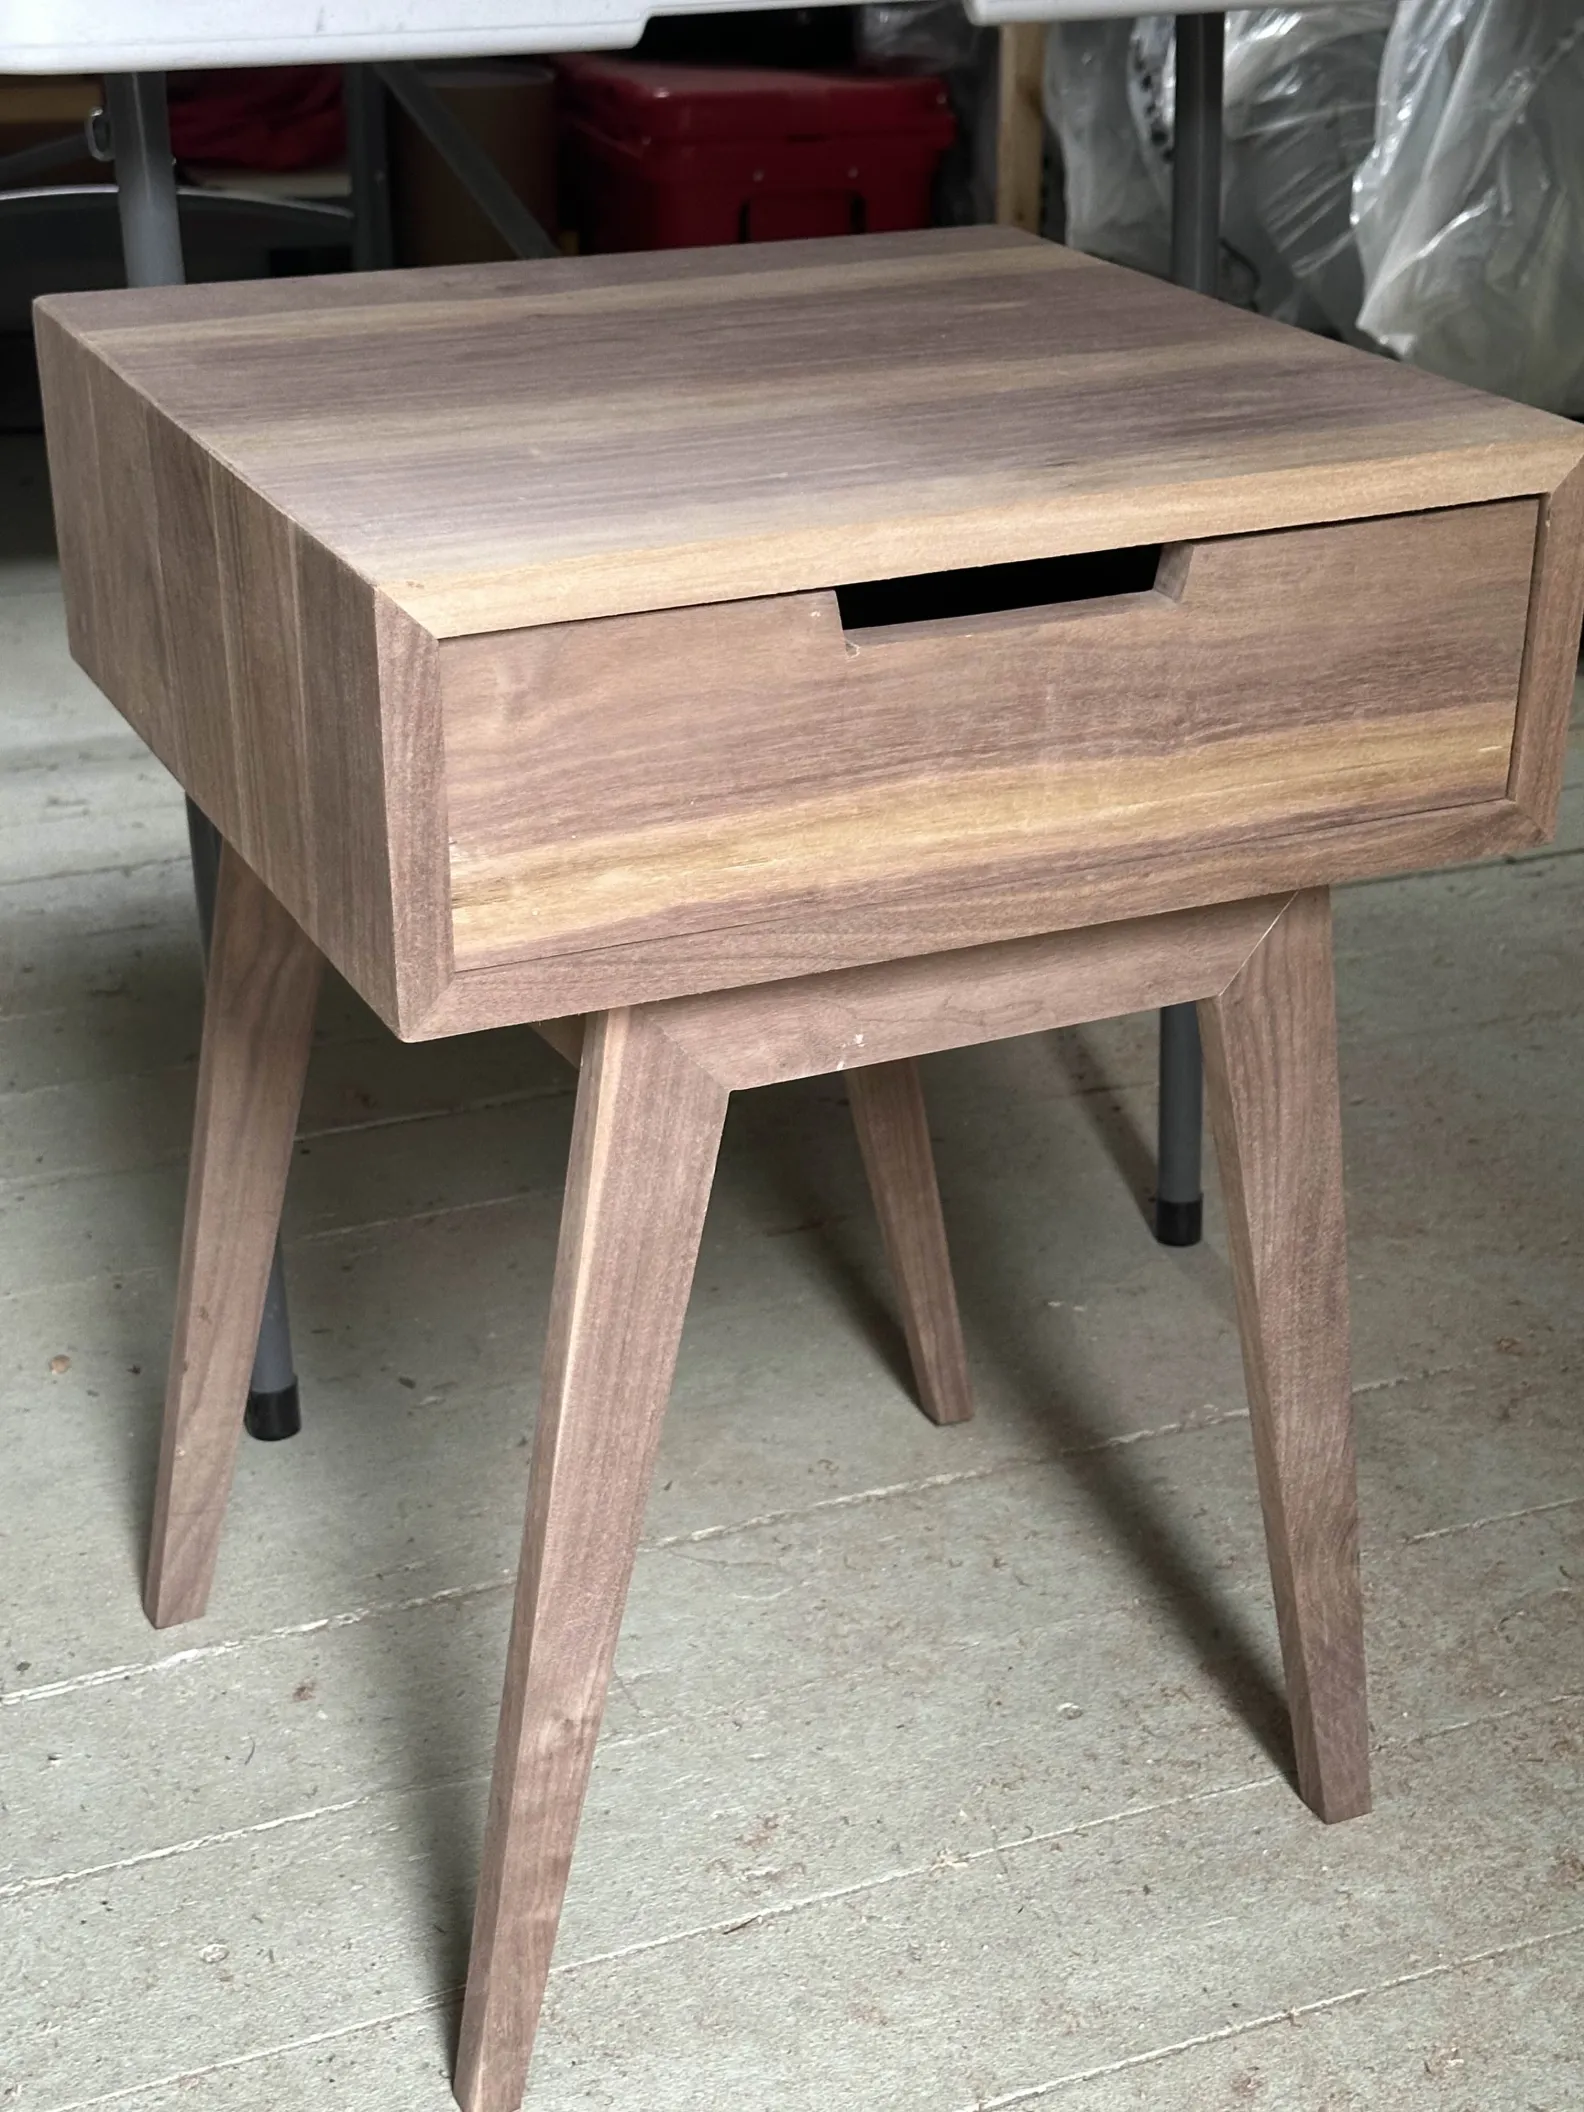
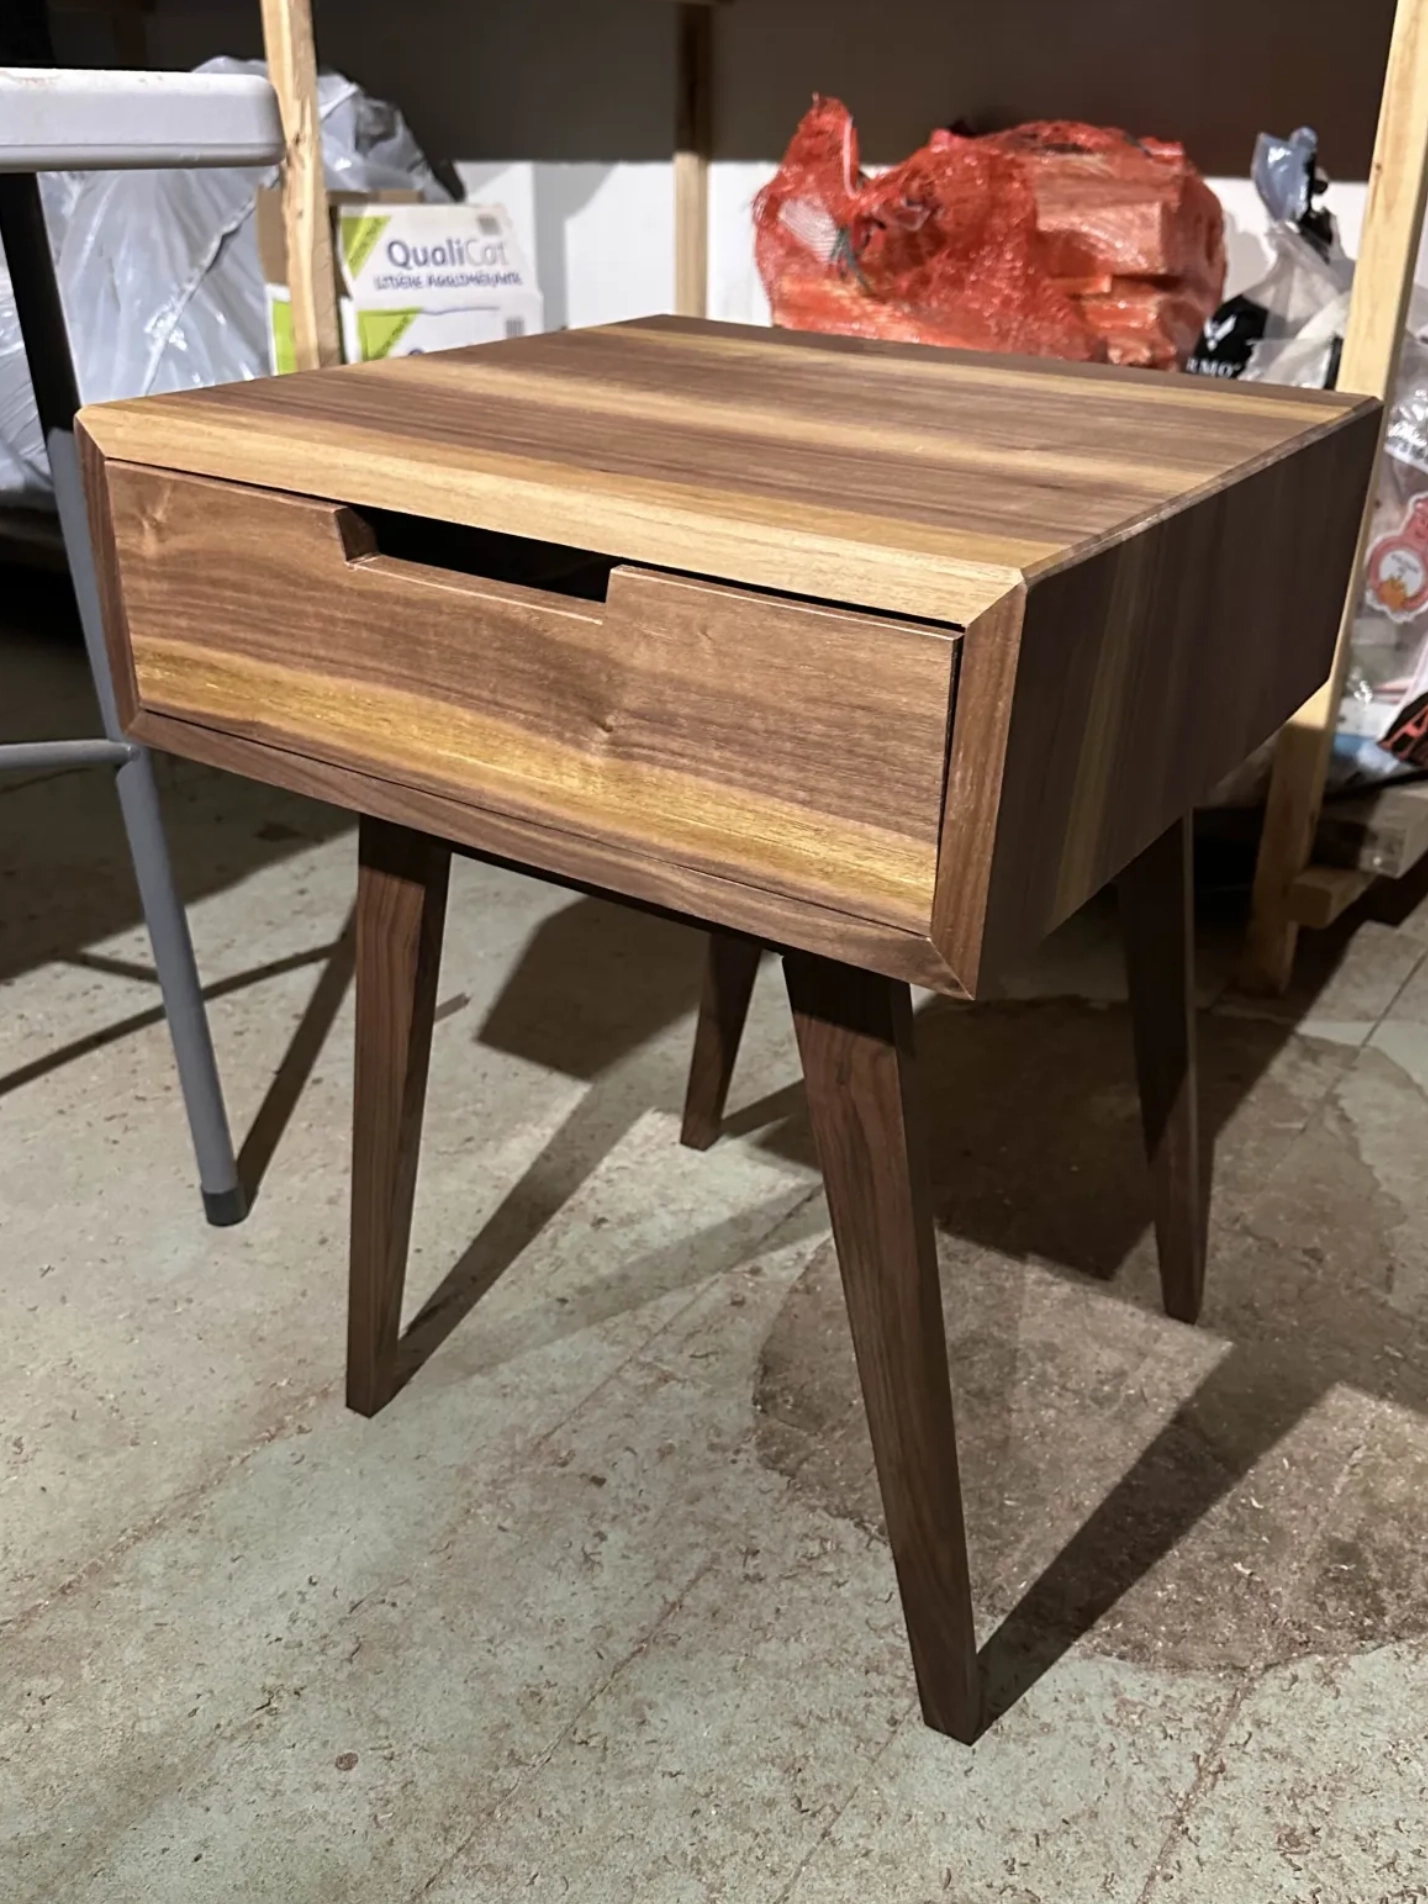
All done!
It looks great and smells great too. Fixing as many mistakes as I did, you barely notice them when it’s all together. If you’re a skilled woodworker you’ll notice some glaring flaws but I really wanted to do this to prepare myself to make a bigger box on legs: A media console. Stay tuned!
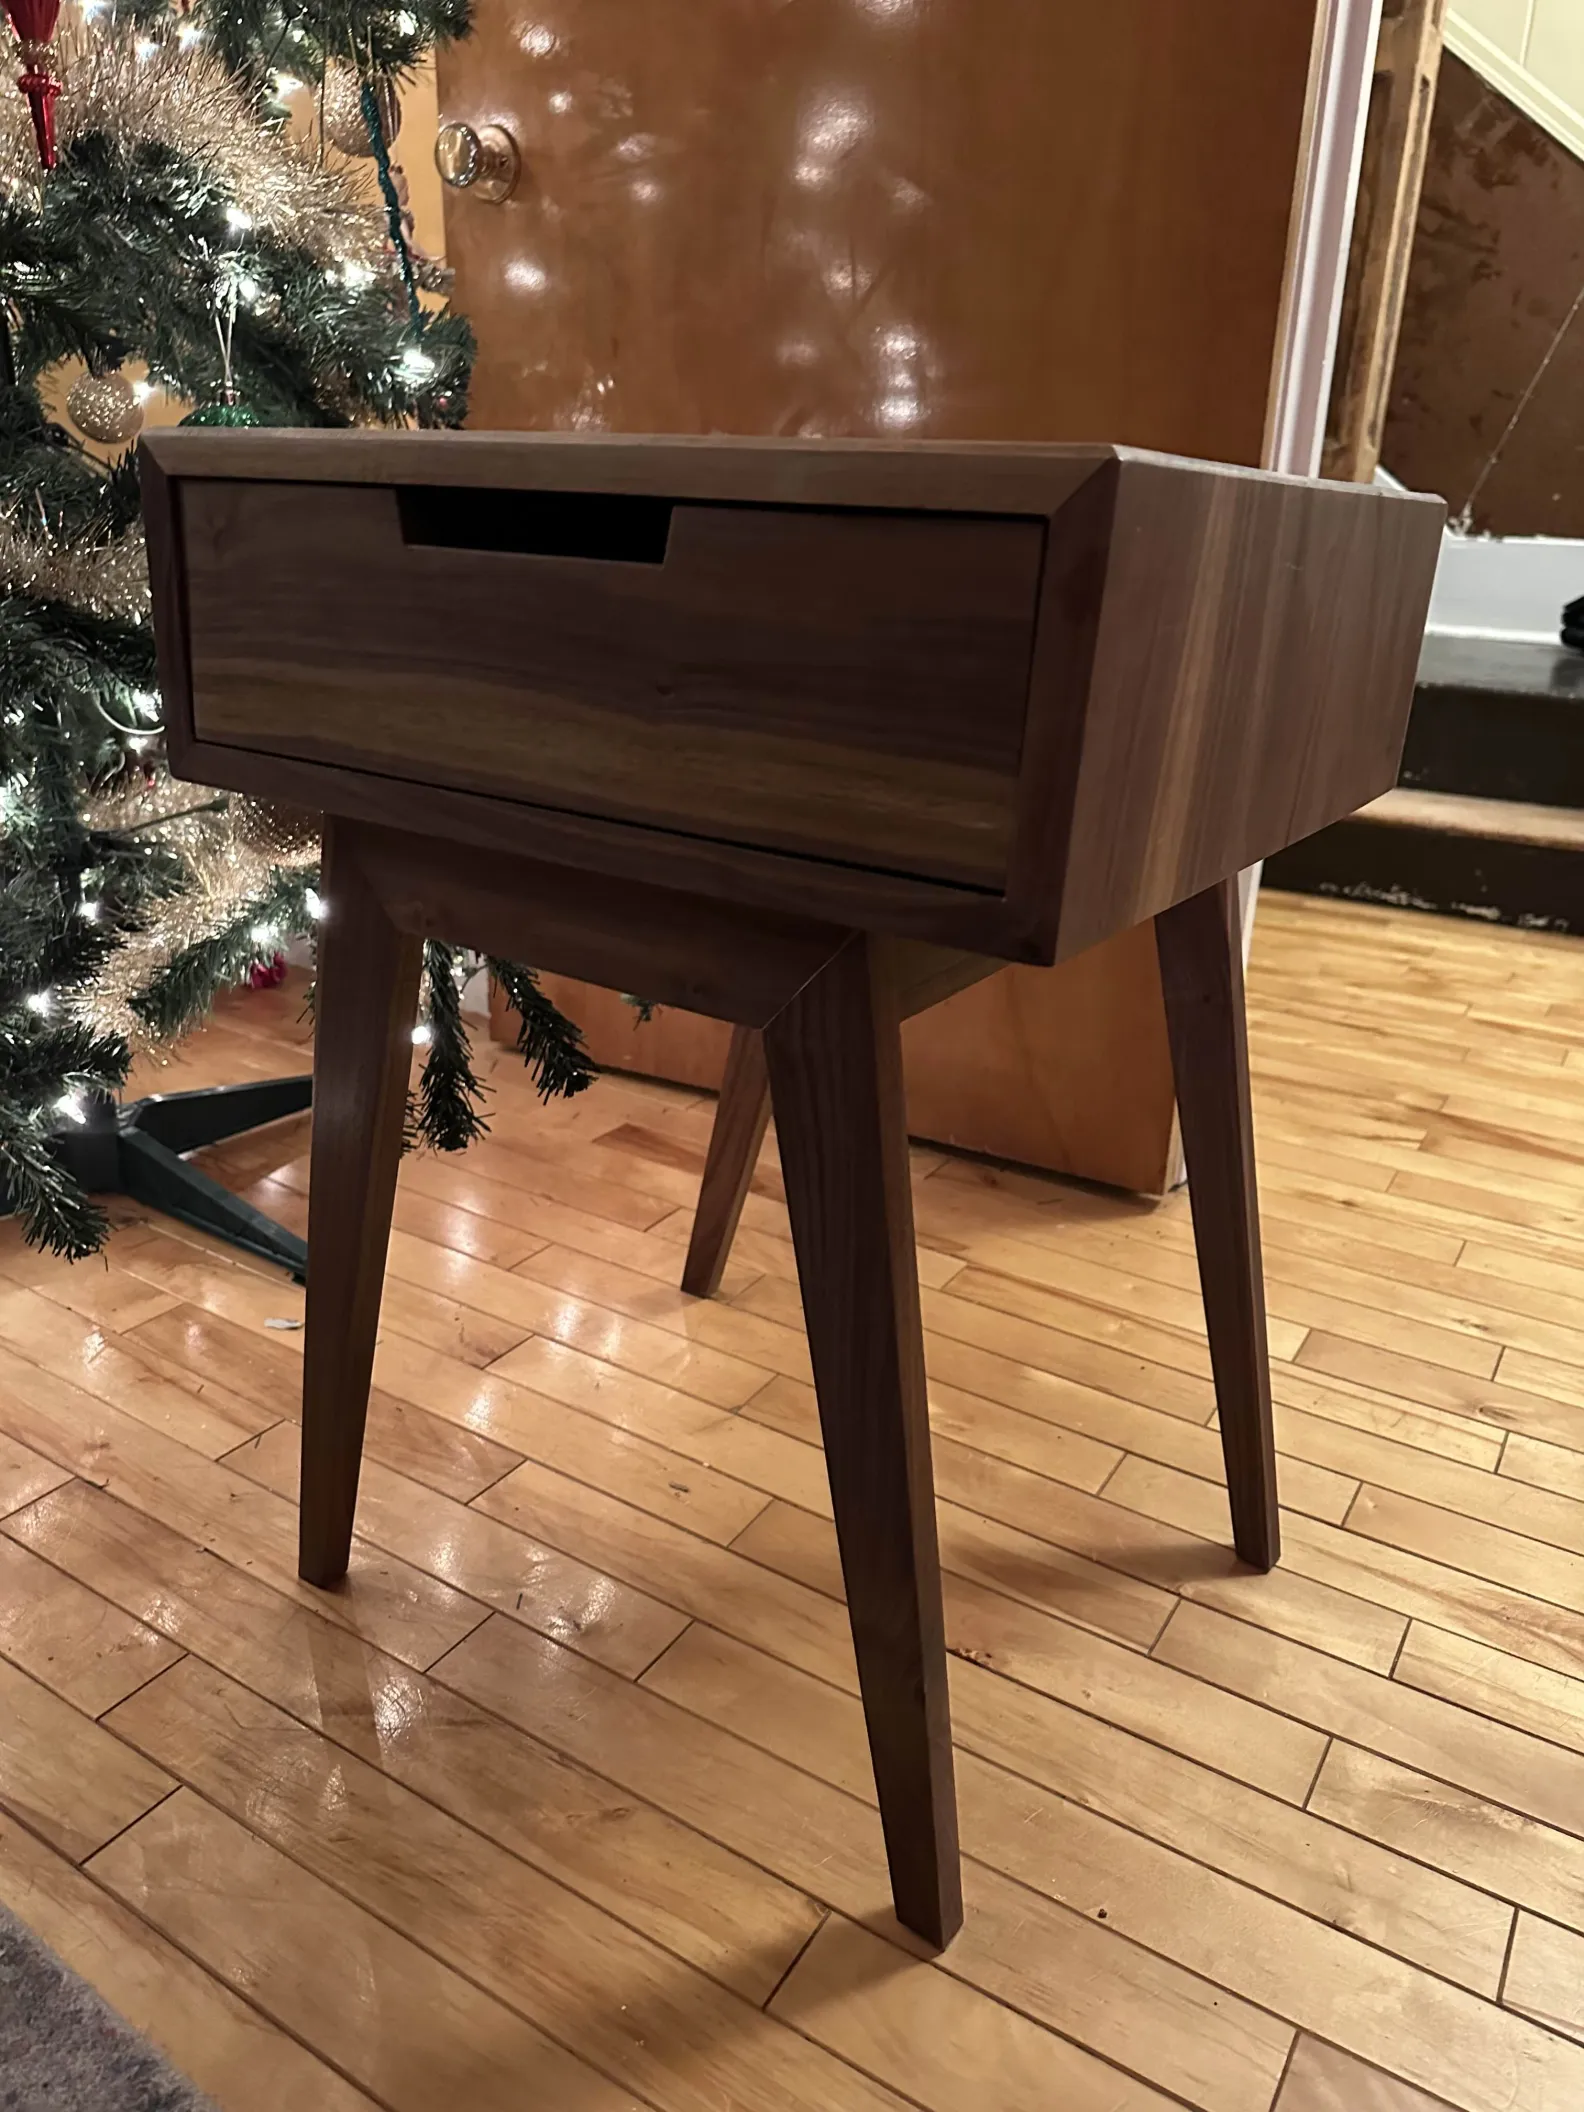
Learnings
- Hard wood brings projects to another level of precision you can’t get with soft woods. This makes me want to get better tools, be more careful and overall take the hobby more seriously.
- I only had a borrowed router for the last rounding. If I had it for the rest I could have used a flushcut bit to joint the boards.
- Make use of painter’s tape when gluing. Use a wet rag to clean up squeezed-out glue. People online make it look easy to remove with a bench scraper, but it’s not.
- Take your time sanding. Silence the voices that you could tip the ROS and get rid of that glue faster. It just leaves bumps and pigtails that take twice as long to remove.
- My drawer is sticking, probably because I didn’t leave enough space between the drawer slides and the plywood drawer itself.
- I need a plunge router if I’m ever going to do rabbeting again.